How to adapt a pattern to your body shape?
Just like clothes sold on the high street, sewing patterns are not always perfectly adapted to your morphology. Even when sewn to your size, the finished garment may be too tight at the waist but too wide at the hips.
But unlike ready-to-wear, you can easily adapt your hand-sewn garment to fit perfectly!
Here are a few tips on how to get the perfect size.
Taking the right measurements
To begin with, it’s very important to measure yourself correctly. It’s very rare that the size indicated on your sewing pattern corresponds to the size you usually wear. If you’re used to buying a size 40, you may have to sew a size 44. Don’t be offended – that’s not the point!
So start from scratch, without any preconception of what size you should make, and take your measurements carefully.
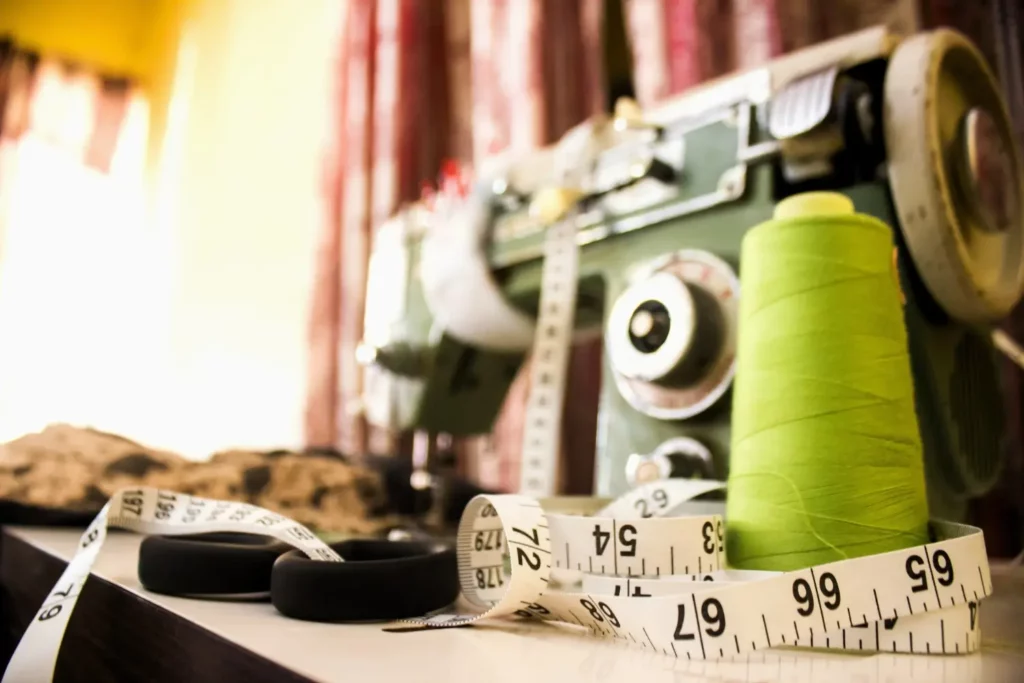
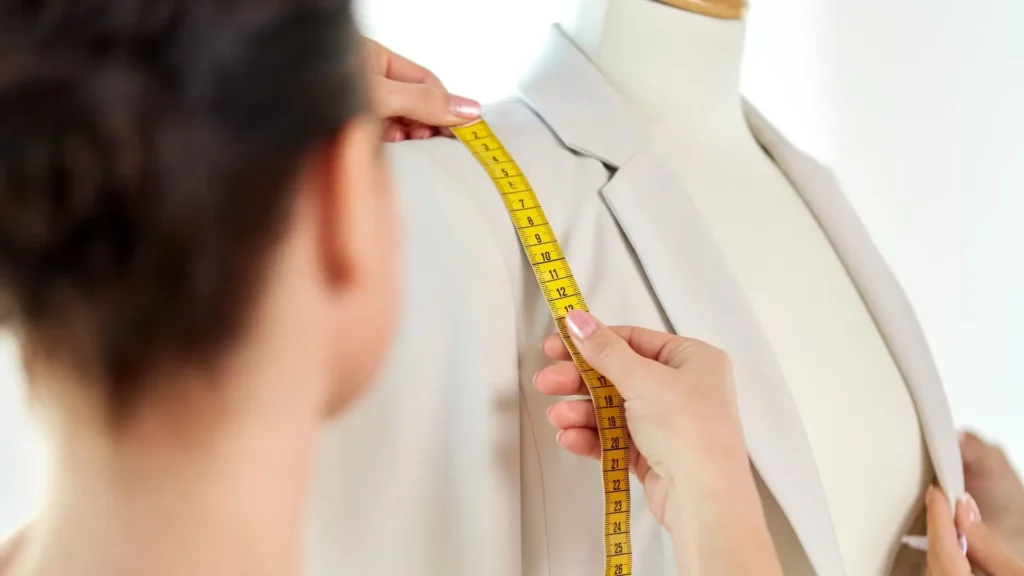
To do this, take a tape measure, paper and pencil. Wear tight underwear or clothing and measure yourself at the chest, waist and hips (at the widest point).
Compare your measurements with the pattern
On the back of most patterns, you’ll see a chart showing these three measurements: bust, waist and hips. Even if you choose the size closest to your measurements, it’s often the case that you’re in between measurements, that the hips match the figures shown but the waist or chest do not. If you need to use the chest measurements of size 42 and the hip measurements of size 44, simply make the change by shifting the pattern. You transfer the size 42 and the size 44 and use a ruler to connect them. Then smooth out the shape of the pattern (taking up any curves, for example). This will prevent your pattern from being too tight or too loose in certain places.
When you add centimeters, you obviously need to remember to add them to all the pieces (back, front) so that all the pieces fit together perfectly.
Change the length of your garment
Taking up the length of a garment is easier than altering the width. Almost all adult patterns have a “lengthen/shorten” line.
To see if the length of the pattern suits you, you can compare it with a similar piece you like. This way, you can put your pattern on a dress you already own to see if the length will be right.
If this is not the case, cut the parts that need to be reworked along the “lengthen/shorten” line. If the pattern isn’t long enough, add a strip of paper between the two lines (corresponding to the number of centimetres you want to add) and, as with the width, join the two parts of the pattern neatly together to create a harmonious shape.
Then carefully trim the sides.
If, on the other hand, the pattern is too long, cut along the “lengthen/shorten” line and remove the desired number of centimetres. When it’s time to glue the two parts of the pattern back together, you’ll need to align the sides once again with the scissors.
Making a canvas
If you’re not sure about the pattern you’ve chosen and want it to fit perfectly, you can sew a test fabric with butter cloth.
The idea is not to sew the whole garment (don’t zipper, button or hem). But to get a general idea of the shape and fit of the piece.
This allows you to see exactly where you can add or remove centimetres.
Making up for a garment that’s too big or too small
You’ve cut and sewn your garment and it’s slightly too small or too big? It’s always possible, with the help of a seam ripper, to rectify this slightly.
If your garment is too small, you can save a few precious millimeters by reducing the seam allowances. Go from 1 cm to 5 mm, and you’ll gain 2 cm.
If, on the other hand, it’s too big, you can take back a few centimetres on each side. Simply remove the same number of centimetres on the left and right.
The same applies to the hems of a skirt or dress. If the garment is too long or too short, they can be corrected.
And what about you? Do you usually adapt your patterns to your body type?