Sewing a zipper
Need to sew a zipper for your latest sewing project?
In this article, we explain everything you need to know to sew them to perfection.
The different zippers :
Before you start buying zippers, and so as not to confuse you, I must give you a few details about them:
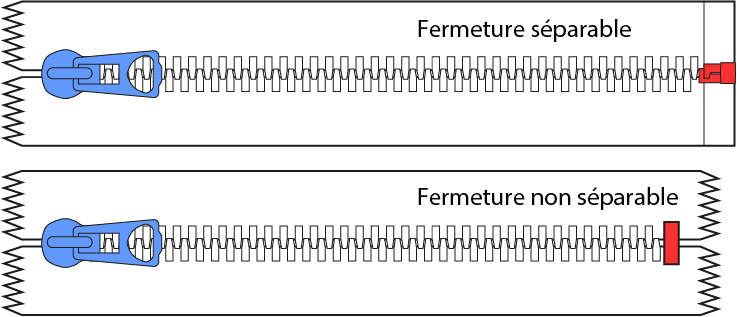
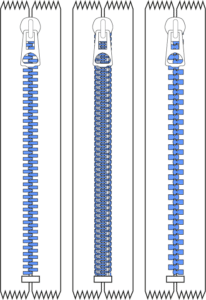
- There are separable and non-separable zippers. Separable zippers are used on garments you need to open, such as coats. Non-separable zippers are used on garments such as skirts and dresses, but also on accessories like bags.
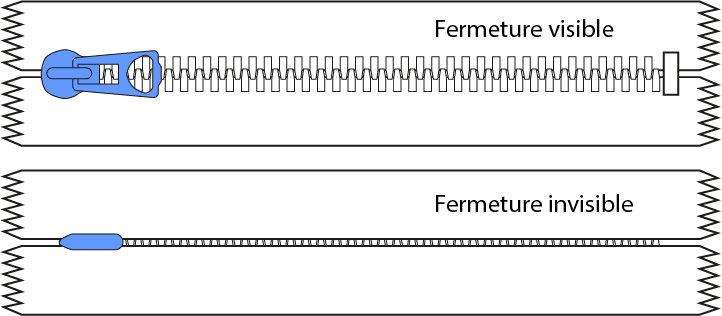
- Closures are either “normal” and therefore visible, or invisible. In the latter case, only the small zipper pull is visible. This type of fastener is used, for example, on the middle back of a dress. At this point, you need an opening, but you don’t want it to be too visible.
- There are three types of zipper. Metal ones, which can be used on jeans fly. Spiral fasteners, the most discreet, with small polyester teeth. Used on garments such as pants, dresses, etc. And finally, injected plastic fasteners, more suited to coats and furnishings for their resistance.
- Closure by the meter: this has the advantage of being less expensive than other closures. It usually comes with 2/3 sliders per linear meter. If you ever undo the zip, you can easily put it back on again. We’ve included a link to a video tutorial at the end of this article.
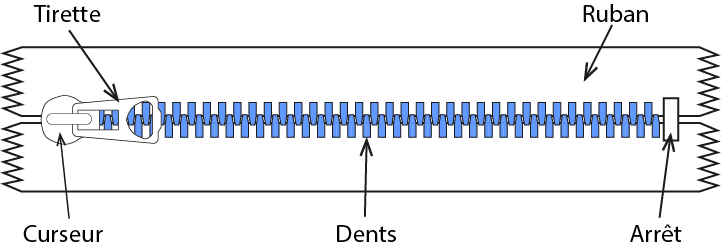
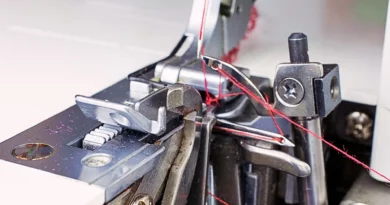
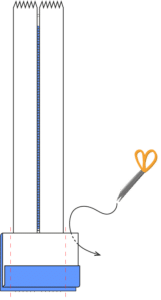
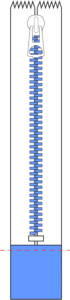
- A zipper consists of two ribbons. The teeth on the ribbons naturally interlock as the slider passes over them. You can pull the slider easily with the pull tab.
Zipper fasteners are often referred to as Éclair zippers. Éclair is in fact the name of a brand. We also use the word zip.
How do I use the two presser feet to apply zipper fasteners?
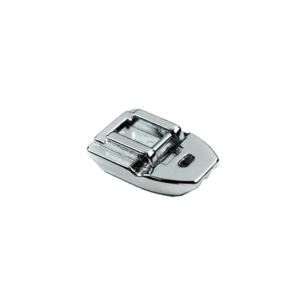
There are two types of presser foot for sewing slides.
- Normal closing: this is the presser foot. You need to install it on the machine, and for this you have two possible positions. The needle can either be on the right or on the left, depending on your needs. You’ll also need to fiddle with your machine’s settings so that the needle falls into the appropriate hole and stitches as close to the zip as possible.
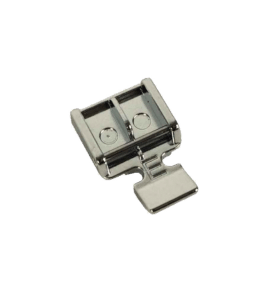
- Blindstitch: This presser foot has only one position. However, you must ensure that your needle falls into the middle position, which may require some adjustment. The teeth of the clasp must pass through one of the two tunnels provided. If you pass through the left-hand tunnel, the stitching will be on the right, and vice versa for the other tunnel.
Techniques for sewing fasteners :
Simple zipper installation:
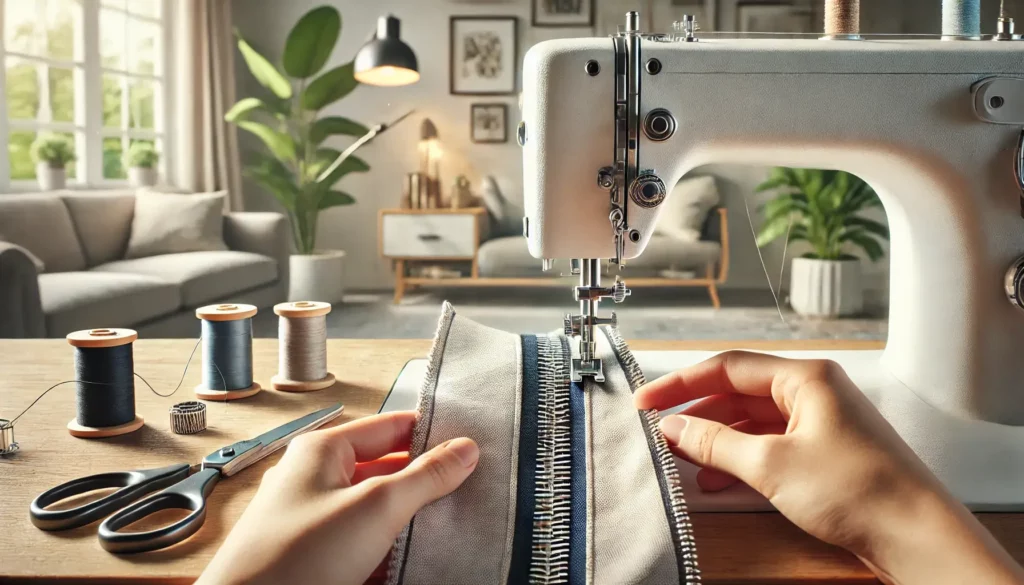
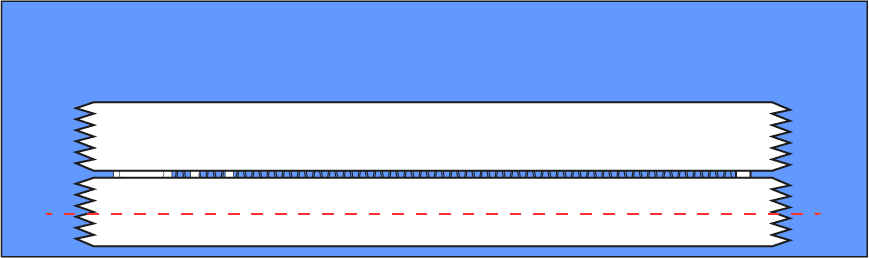
Place the right side of the zipper against the right side of your fabric on the edge. Pin in place and place under the machine so that the zipper is on top. Insert your set under the presser foot so as to stitch as close as possible to the teeth of the zipper. Don’t forget to lock-stitch at the beginning, and you’ll also need to lock-stitch at the end.
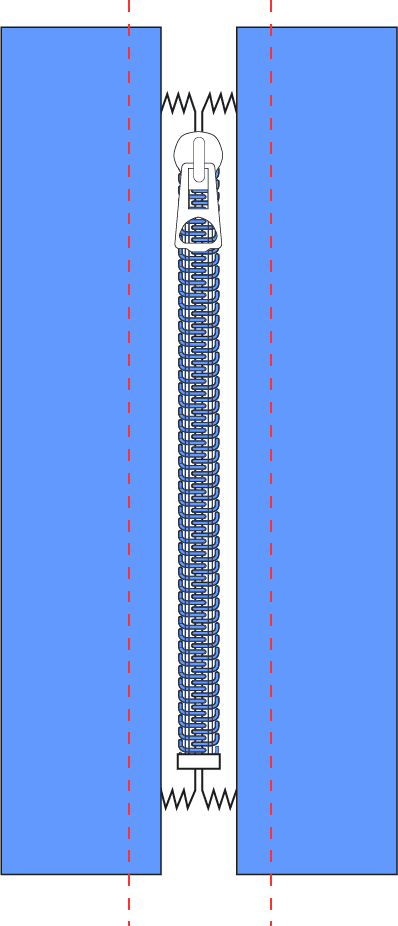
When you’re about to take that shot, at some point you’ll be caught by the closing cursor, which will at best throw you off course, and at worst prevent you from continuing. Anticipate that moment!
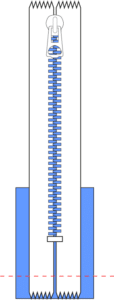
Stitch the needle into the fabric, raise the presser foot and move the cursor over the part of the fastener you’ve already assembled. Continue and complete your stitching. At this point, you’ve attached one side of the zipper.
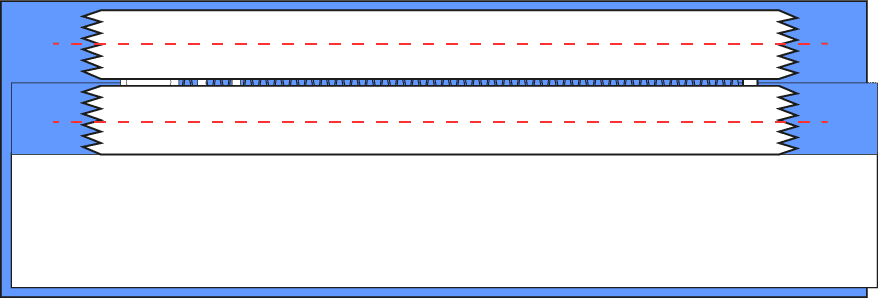
To complete the zipper, place the other side right sides together on the edge of the fabric where it is to be joined. Stitch in the same way. If necessary, you can shift your presser foot to the second position to see the zip. Iron the seam.
You can top-stitch, always with the same foot, to consolidate your assembly or for aesthetic reasons.
Sewing an invisible zipper :
Open the zip as far as it will go. Place the first side on the edge of your fabric, right sides together, so that the edge of the teeth is 1 cm from the edge of the fabric.
Here you can use the same presser foot as for normal zippers. In this case, use your fingers to “unfold” the teeth and stitch as close as possible. Use the appropriate presser foot if you have one.
When the cursor blocks your path, pause.
Next, assemble the fabric at the bottom of the zipper to close the opening. At this point, lay the fabric right sides together, leaving the rest of the zipper free so as not to be in the way. Pin your fabric and change your presser foot for a normal presser foot. Stitch 1cm from the edge of the fabric, starting with a bartack opposite the zip and working your way back as close as possible to your stitching. Finish your seam with a tack. The more precise you are at this stage, the more invisible the result will be on the right side. Iron your zipper right side out. Secure the bottom of the zip in the seam allowance you’ve just opened with a tack.
Closing with fabric and lining:
If your closure is to be “sandwiched” between two layers of fabric, with the outer fabric and a lining, you can add the next step.
In this case, you won’t be able to use the special invisible presser foot.
Once you’ve finished assembling your zipper, open it again. This time, take the right side of the lining fabric and place it on the wrong side of the zipper tape. The outer fabrics should be edge-to-edge. Pin in place. Using the zipper presser foot, press exactly into the stitching you made earlier. Do this for each side.
Tip for sewing machine teeth:
If your fastener gets caught in an assembly, you’re going to have to stitch over the teeth. This is where you can worry about damaging your machine. With this machine, you can normally go over spiral teeth if they’re small enough. For all other fasteners, you can use pliers to remove the teeth in question before stitching the fastener (be careful not to cut the ribbon), or stop stitching using the foot pedal and use the machine’s handwheel to ensure that your needle falls between the teeth and not over them. Particularly with metal or nylon fasteners, where you risk breaking your needle.
Zipper finishes :
Finishing the end of a closure:
If you’re using metre-zip fasteners or have cut your zipper to make it smaller, you’ll need to finish it off. To do this, cut a rectangle of fabric: 6 cm high by the width of the fastener plus 2 cm (for seam allowance). Join the end of the fastener right-side up to the fabric at 1 cm. On the other end of the fabric, make a fold with your fingernail at 1 cm.
Fold the fabric right sides together, maintaining the fold, and stitch 1 cm apart on each side. Trim the corners and turn the fabric inside out. You can then stitch to close the opening.
Zipper fitting should no longer hold any secrets for you. However, I’ve put together a selection of videos and sewing patterns to help you along the way.
My zipper video tutorials:
- How to sew a zipper
- How to sew an invisible zipper
- Sewing a stop on a zipper
- Repair a zipper (replace the zip)
- Zipped cushion cover
Three sewing patterns to put this technique into practice:
Find my free tutorials and patterns on my store to learn how to apply zippers:
- Steph clutch bag – Loumajinne Créations
- Simplo Banana Bag – Le Papa de Jojo
- Skirt l’Ambitieuse – Vestiaire Eponyme