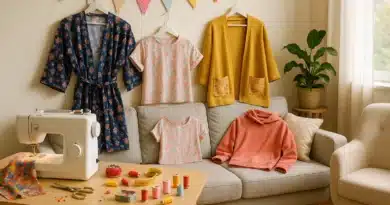
Is a serger a real plus in a sewing workshop?
Do you already sew with a sewing machine, but sometimes your finishing touches leave a taste of unfinished business? What if a new machine could change all that? Welcome to the world of sergers!
In this article, we explain its role, how it works, and why it could well become your best sewing ally.
What is a serger?
A serger is a machine for finishing edges on warp and weft fabrics (generally non-stretch fabrics), as well as for joining and finishing stretch fabrics in a single step. The various stitches it produces preserve the fabric’s elasticity, essential for sewing and comfortably wearing garments such as leggings, sweatshirts, T-shirts, swimsuits, dresses, etc…
This makes it ideal for sewing jersey, fleece, lycra and many other stretch fabrics.
In short, the overlock machine assembles, overlays and cuts your fabrics… in just 1 step!
Why should you sew with a serger?
With this machine, you can perform 2 operations at the same time! Assemble and finish, that’s a real time-saver. But above all, you’ll get the same professional finish as in ready-to-wear.
This type of stitching/finishing also provides much better hold and resistance to washing. It makes your projects more solid.
For close-fitting garments, the elasticity of the fabric is preserved by stitching (leggings, swimwear, etc.).
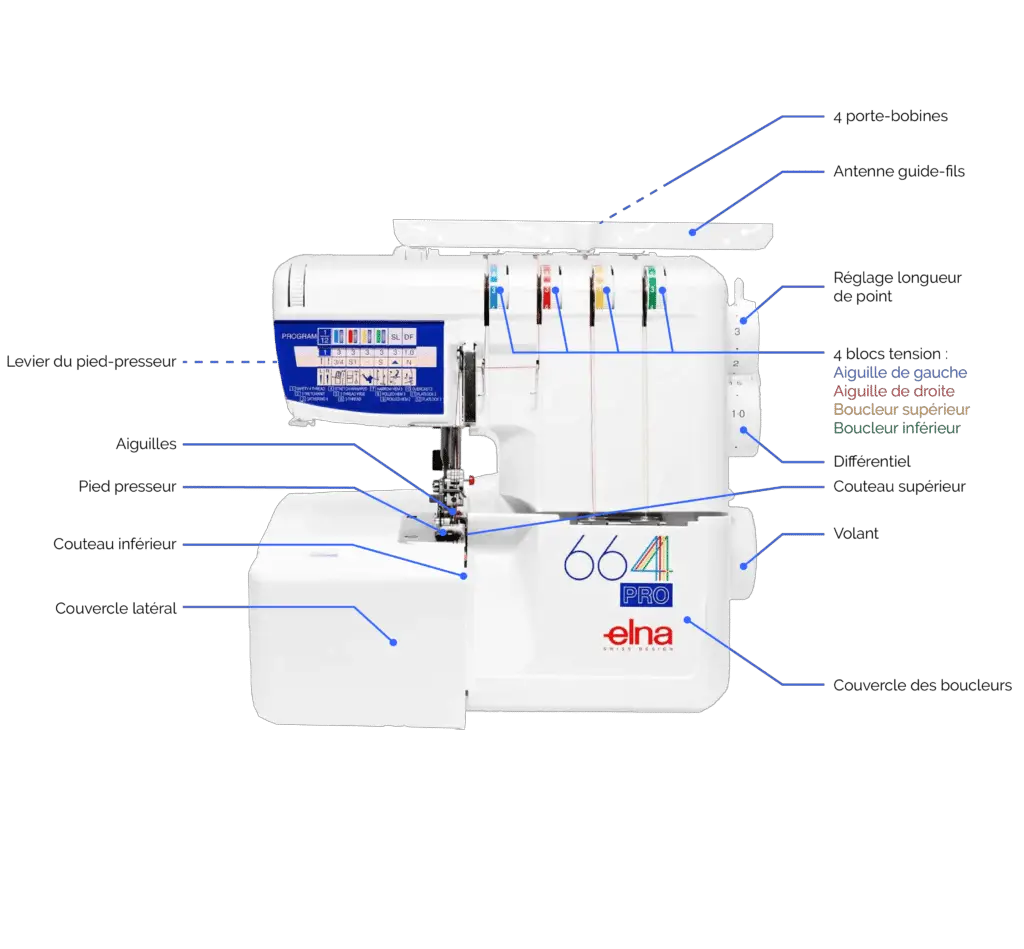
How to thread your serger?
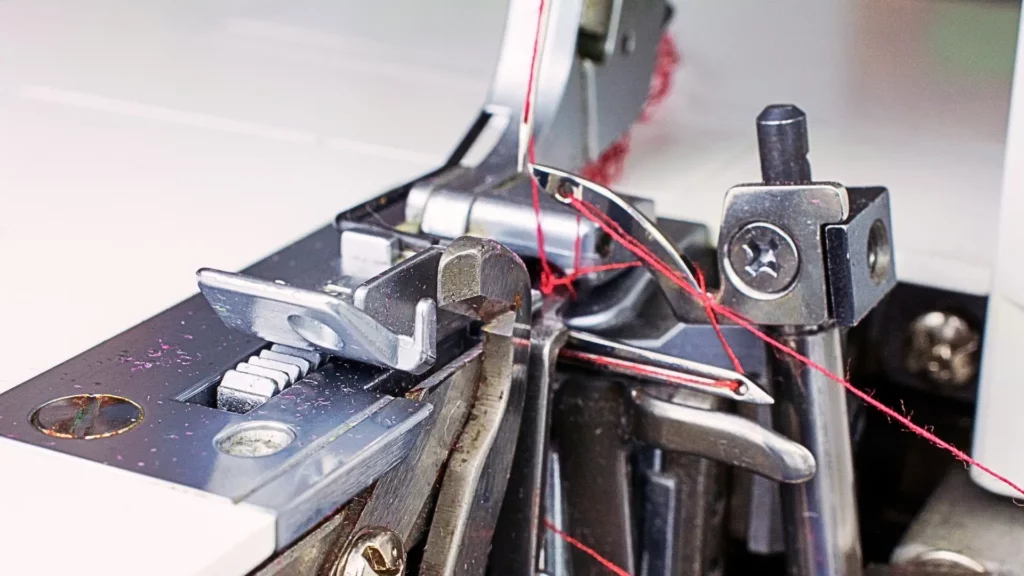
This is the step that often scares you: threading your serger.
It’s not that complicated, as the instructions and diagrams will guide you. There’s also a technique that involves using the wires you’ve already threaded to insert new ones. In any case, don’t forget to turn off the power before proceeding.
See our video tutorial on knotty threading at the end of this article!

How do I set the tension on my serger?
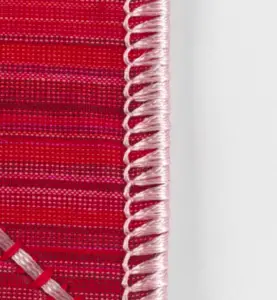
To achieve a beautiful, solid stitch, you need to control the tension of your threads.
A correctly made stitch shows two straight lines of stitches similar to those on a sewing machine. These threads correspond to those of the two needles. There is also a looped thread on the top of the fabric (upper looper), and another on the reverse (lower looper). These two threads must intertwine precisely at the edge of the fabric – where the serger knife shaves.
An incorrectly set stitch can result in a needle thread appearing on the right or wrong side of the fabric, or in loops protruding from one side or the other. In such cases, it is necessary to adjust the tension.
For ease of use, especially if you’re just starting out, it’s best to use different colors for each wire (each cone), so you can easily spot the one that’s causing the problem.
Perform your tests on the same fabric and thicknesses as your final project. Adjustment depends on the material. Don’t change all the tensions at the same time: you risk losing track of what caused the change!
Always proceed in stages.

How to set the tension of your serger :
- The needle thread is visible on the reverse side: the thread tension is too low.
- The lower looper thread runs up to the needle thread: needle thread tension is too high.
- Lower looper thread returns to the right side: lower looper tension is too low and/or upper looper tension is too high.

- Upper looper thread turns inside out: upper looper tension is too low and/or lower looper tension is too high.

If your fabric warps, this may be due to the tension of the needle threads, but also to the setting of the differential, to be adjusted later.
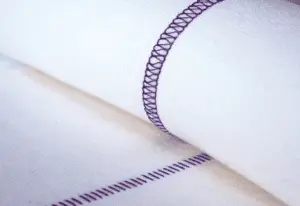
The main stitches you can produce with an overlock machine:
- 4-thread overlock stitch (or faux-safety):
The basic stitch on your serger when all threads are threaded. It is used to finish edges and create a strong join between two fabrics.

- 3-thread overlock stitch:
Identical to the 4-thread stitch, but with one needle thread less, the assembly will inevitably be less resistant. It’s still ideal for overcasting edges. Here you need to remove one of the two needles. Using the one on the left will give you a wide stitch. The right-hand needle will give you a narrower stitch.

- 2-thread overlock stitch:
Provides a very flat edge finish, with only one needle thread and the lower looper. Not recommended for piecing, but perfect for overcasting very fine fabrics.
- Roller stitch (2 or 3 threads):
The fabric is slightly folded before stitching. This decorative finish is often used on light or transparent fabrics (voile, muslin…). You can also play with thread colors for a creative effect.
- Flatlock stitch (2 or 3 threads):
A flat, stretch seam visible from the right side of the fabric. Widely used in lingerie, sportswear and stretch garments. By lightly pulling the fabric after sewing, you can achieve a decorative openwork effect.
Two-wire stitches require the use of a converter, usually supplied with your machine. To install it, please refer to your user manual.
Can I sew garments without a serger?
Having a serger is a real time-saver and allows you to achieve impeccable finishes, but it’s not essential for sewing beautiful garments.
You can sew stretch fabrics, such as jersey, with a conventional sewing machine, as long as you use the right settings and accessories:
- Jersey needles, suitable for stretch fabrics.
- A twin needle, ideal for hem finishes or folded edges.
- Specific stitches such as zigzag stitch, lightning stitch or stretch stitch (depending on your machine’s options).
And for warp and weft fabrics, several techniques allow you to create beautiful finishes without overlocking:
- English stitching for clean, solid interiors.
- The folded seam, perfect for strong, durable garments.
- Edging (laying a bias or strip) for a clean, decorative finish.
The serger may not be an indispensable part of your workshop, but it’s clearly a life-changer when you sew regularly. It allows you to tackle more technical fabrics and more professional finishes, so you can continue to perfect your skills.
Want to get started? Check out our serger-tested tutorials and patterns to help you learn without the headache.
My serger video tutorials:
- What is a serger? What is it used for?
- How to thread your serger: the knot technique
- Overlock machine: how to adjust tensions
- Tips for sewing with a serger
- Sewing tip: tucking in serger threads
- Flatlock with serger
- Overlock technique: 3-thread threading
Three sewing patterns for using your serger:
Find my free tutorials and patterns on my store to learn how to use a serger:
- Le Sweat Livarot (child) – Papa de Jojo
- Cranberry (T-shirt for the whole family) – Klafoutis
- Le top Maly – Moi Je Couds patterns
- Mojito Jersey – Fitiyoo
Further information
Our express training course to learn how to operate your serger