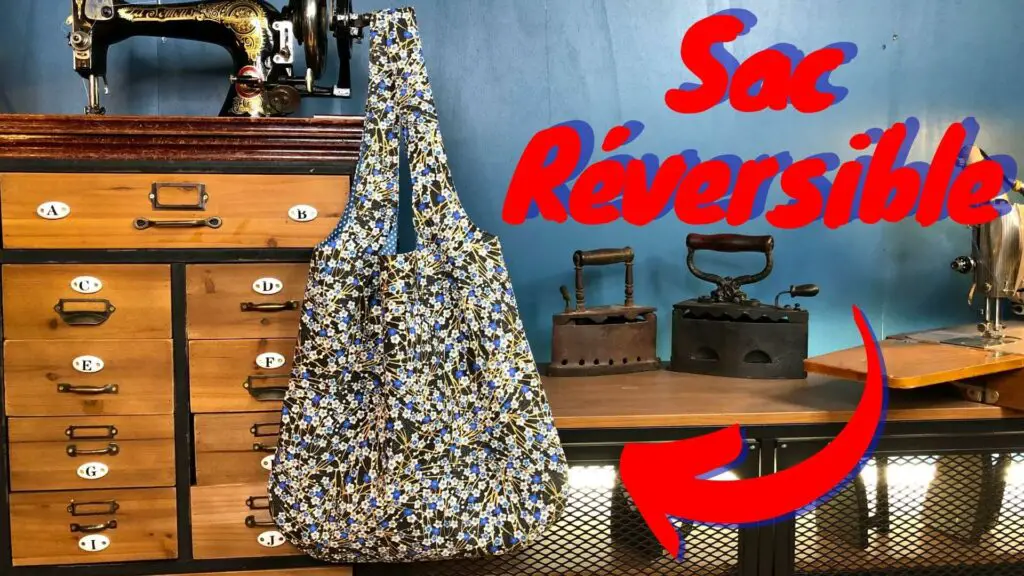
The Reversible Bag
This reversible bag is perfect for running errands, going to the market, or simply carrying a water bottle and a few essentials on a night out on the town!
The principle is simple: the bag’s exterior and lining are interchangeable. No visible seams, no elements that would make the bag look odd when turned inside out.
And the icing on the cake: this reversible bag isn’t complicated to sew at all! However, I do hope you like quilting roundels, because that’s all there is to it!
Sewing equipment
To sew this reversible bag, you will need :
- the PDF pattern, to download [thrive_2step id=’5542′] by clicking here, or [/thrive_2step] on the CoutureEnfant facebook group (in the “Files” tab)
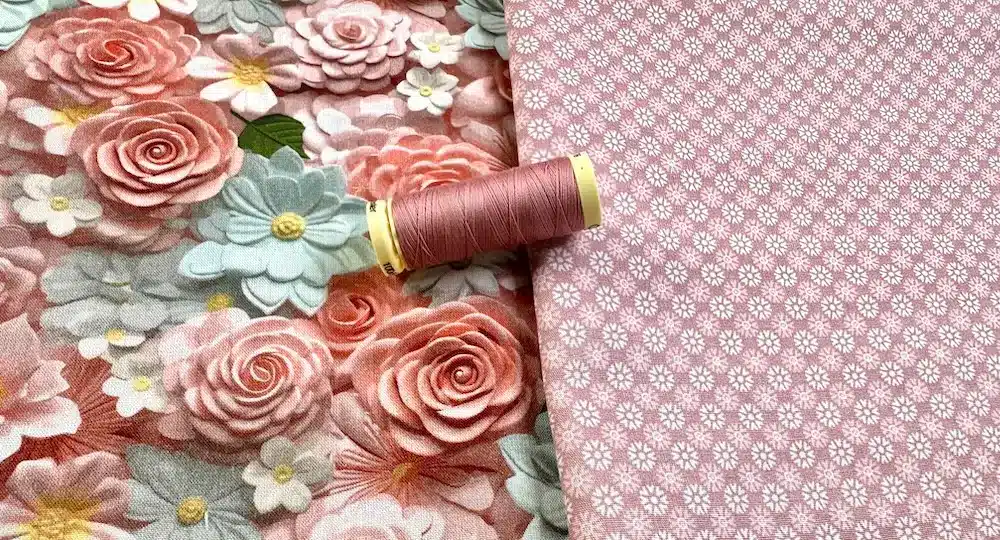
- 2 rectangles of fabric, preferably poplin, cretonne or cotton, measuring H75 x W90 cm
And, of course, the usual equipment: a sewing machine, quality thread and needle, small clover or wonderclip pliers, and a pair of dressmaker’s and embroiderer’s scissors!
Pattern printing and assembly
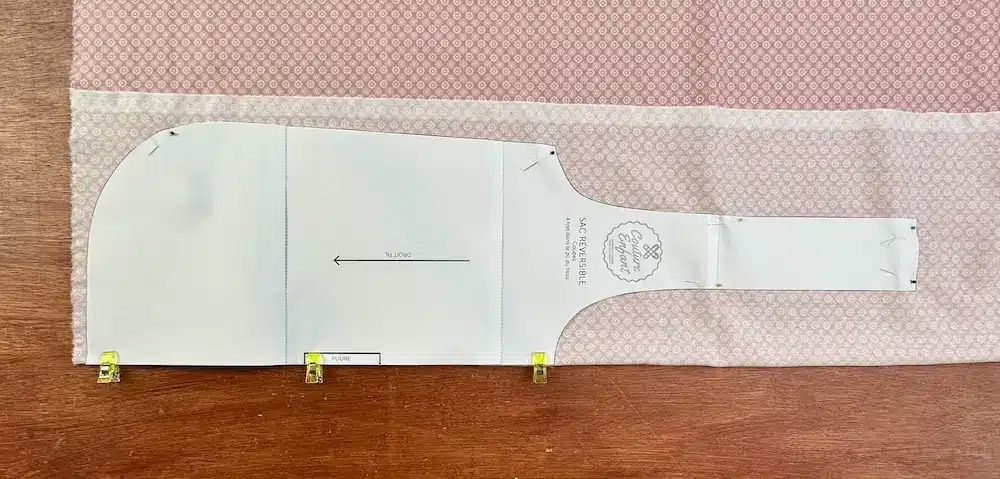
Once you’ve downloaded your pdf pattern, you’ll need to print it out. Preferably at the right size. To do this, you’ll need to check the “actual size” or “custom scale” box in your printing software, and set it to “100%”.
There are 4 pages to print, and you need to assemble them as shown on the first page: from 1 to 4, left to right.
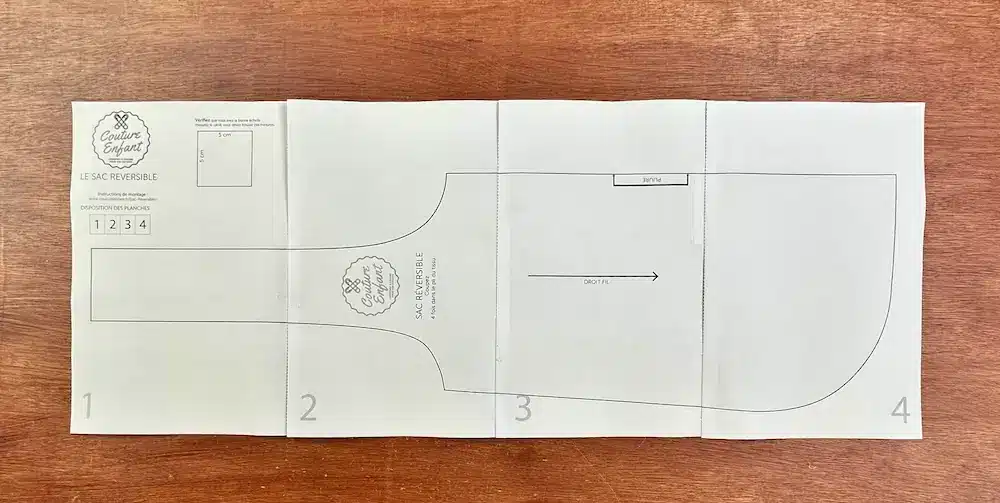
You cut with a pair of fabric scissors, following the line of the piece. There’s no need to add seam allowances, they’re already included in the pattern.
Fabric cutting
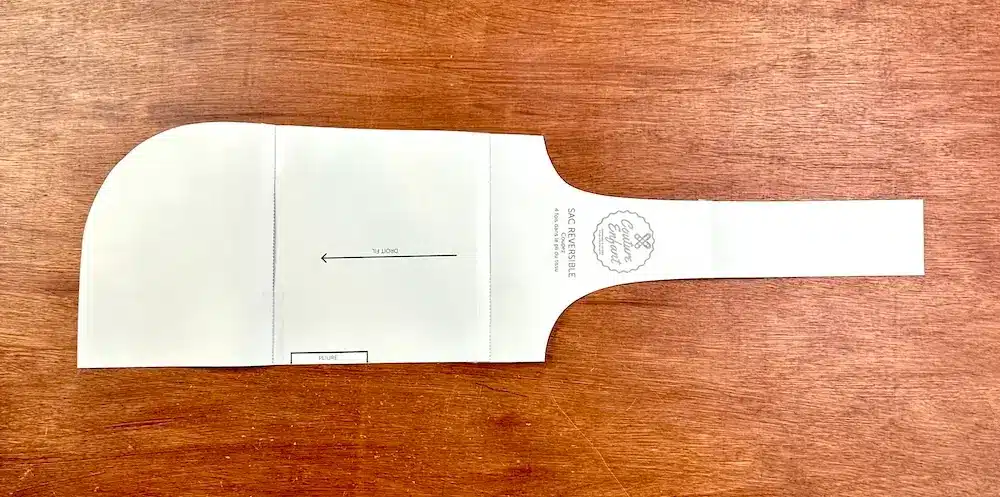
You’ll need to cut the pattern piece 4 times, and always in the same way. Fold the fabric over on itself, and place the pattern piece, matching the “fold” with the fold in the fabric. All the way around, pin the fabric and cut all sides except the folded side.

The piece is cut 2 times from the outer fabric, and 2 times from the lining fabric.
Bottom stitching
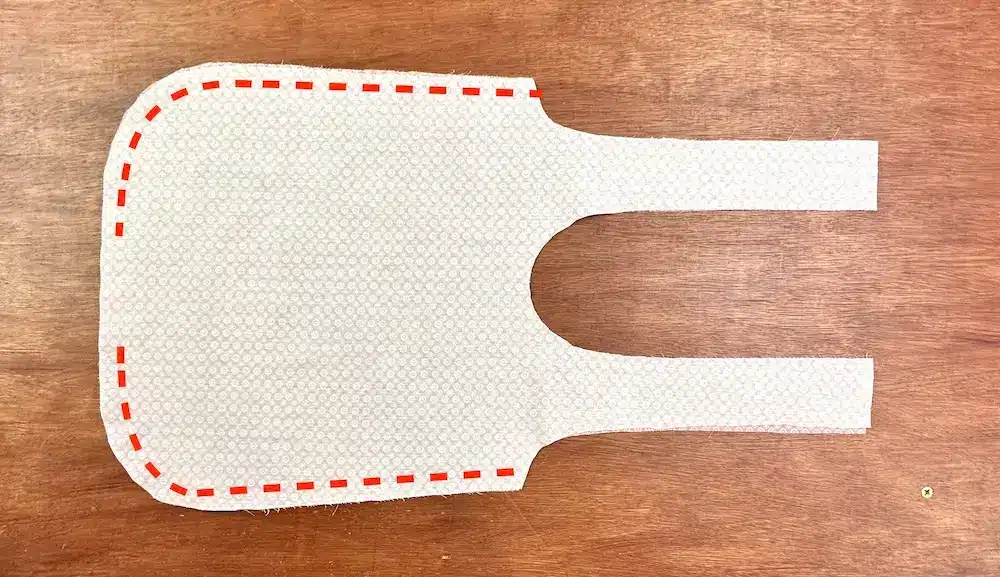
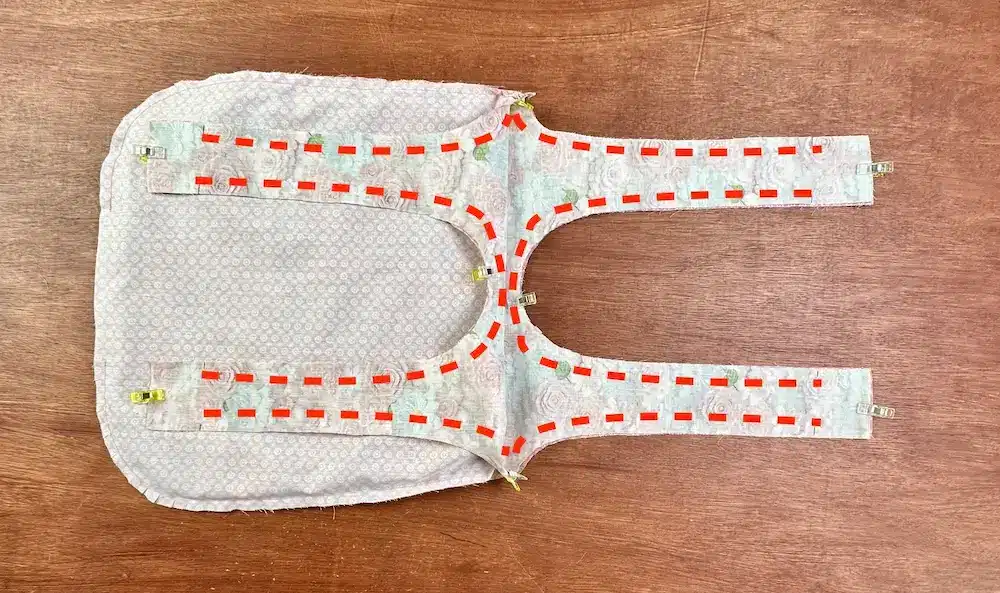
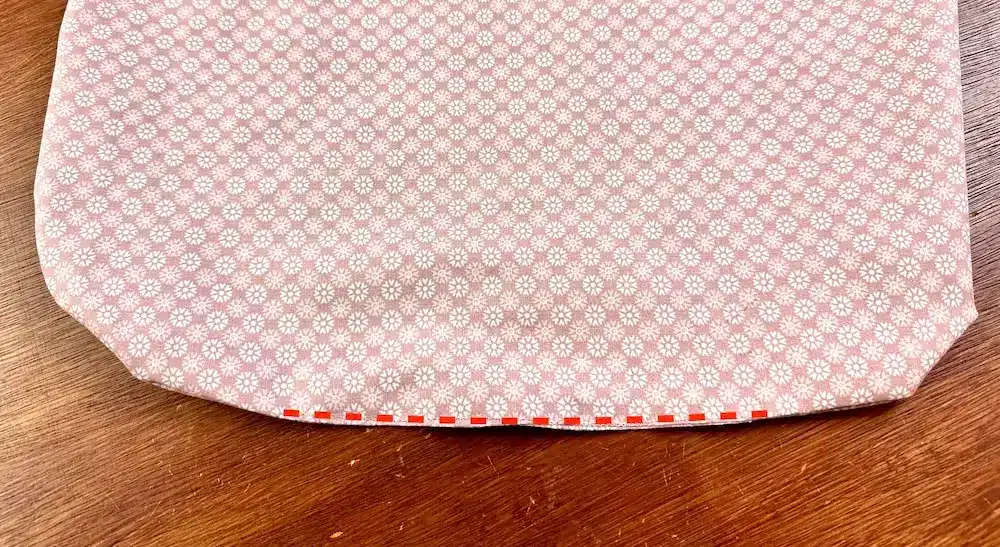
Place the 2 pieces in the outer fabric right sides together, and we’ll stitch only the sides and bottom of the bag, in straight stitch, 1 cm from the edge.
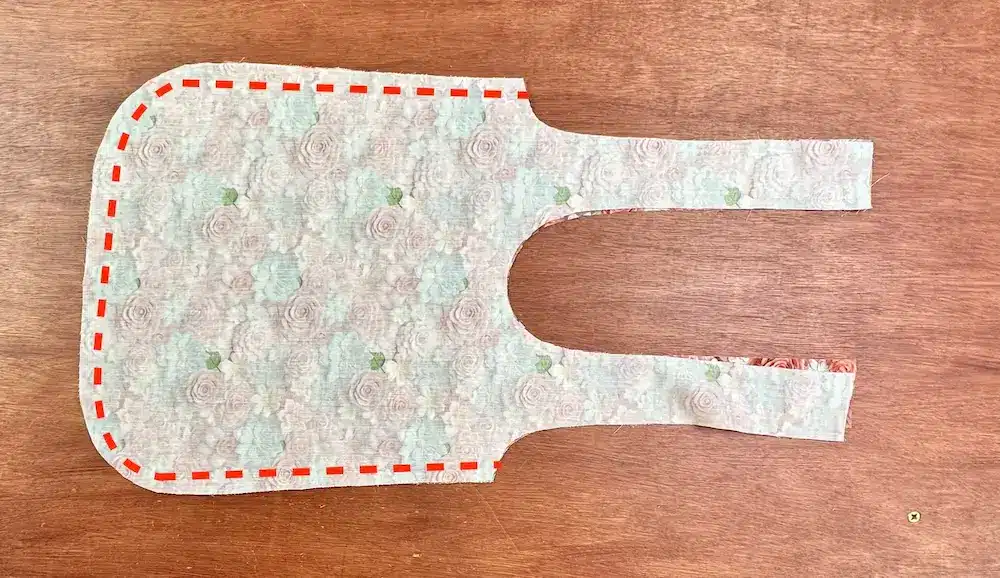
With the lining, it’s kif-kif or almost: we place the 2 pieces right sides together, then stitch the sides and bottom BUT we absolutely must leave a 20-centimeter opening. We’ll use this opening later to turn the bag right side out.
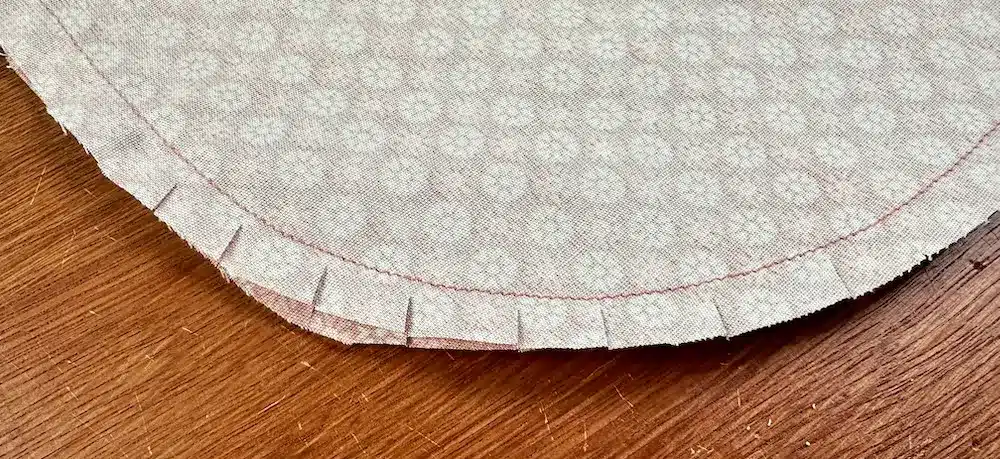
Now it’s time to notch the curves, i.e. make small incisions in the seam margins around the curves. Notches every 3 or 4 centimetres are sufficient.
Assembling the 2 parts
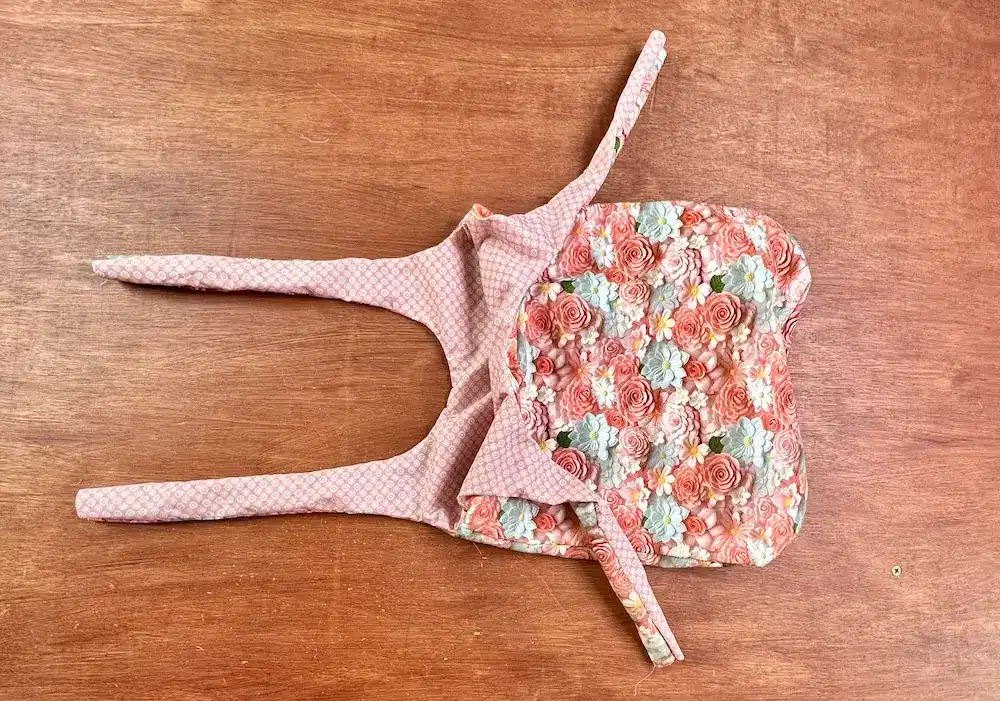
Turn the bag in the lining fabric right side out, and insert it inside the other part of the bag: the one in the outer fabric. Match the seams on the sides and bottom of the bag. The 2 parts should fit perfectly together.
And on the sewing machine, we stitch the handles 1 centimeter from the edge. BUT, we’re going to start our seams 5 centimetres from the ends of the handles.
Once again, we criss-cross the curves of the handles. And through the opening we’ve left in the bottom of the lining, we turn our reversible bag right-side-out.
Now we’ll sew the handles together.
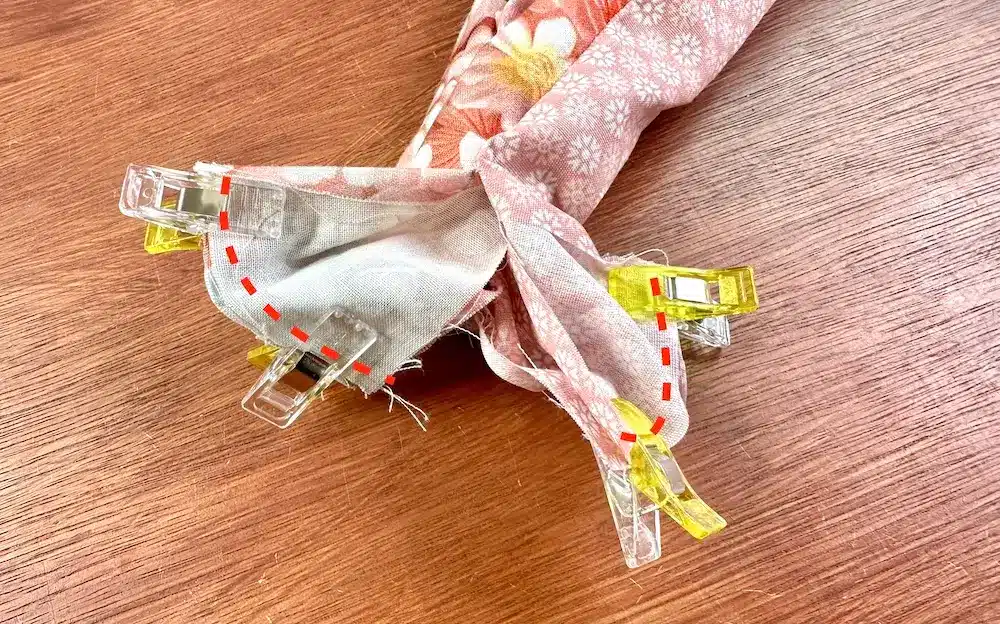
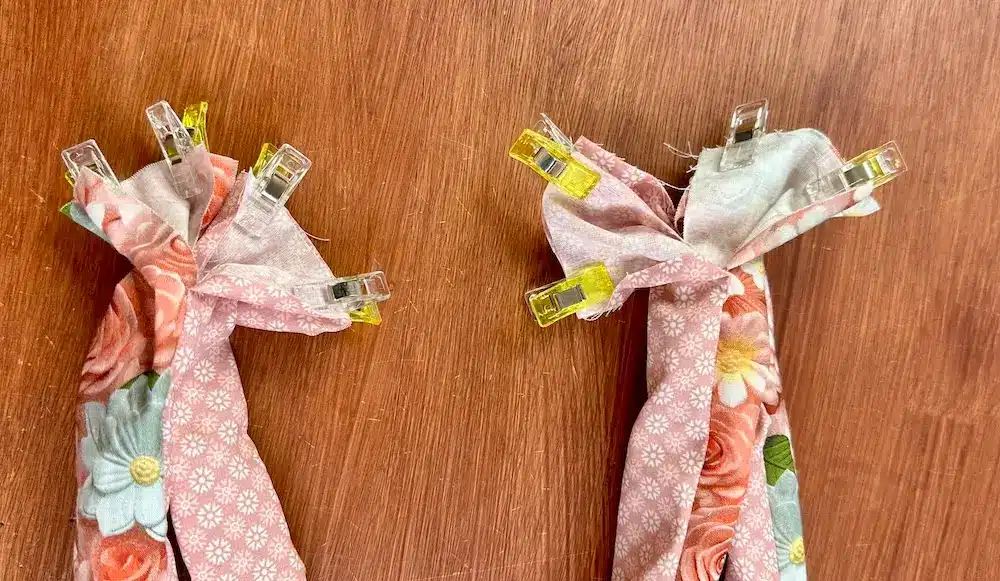
Place the handles 2 by 2, right sides together, taking care to place the lining with the lining, and the outer fabric with the outer fabric. Sew (for now) only the ends of the handles, using a straight stitch, stitching 1 cm from the edge.
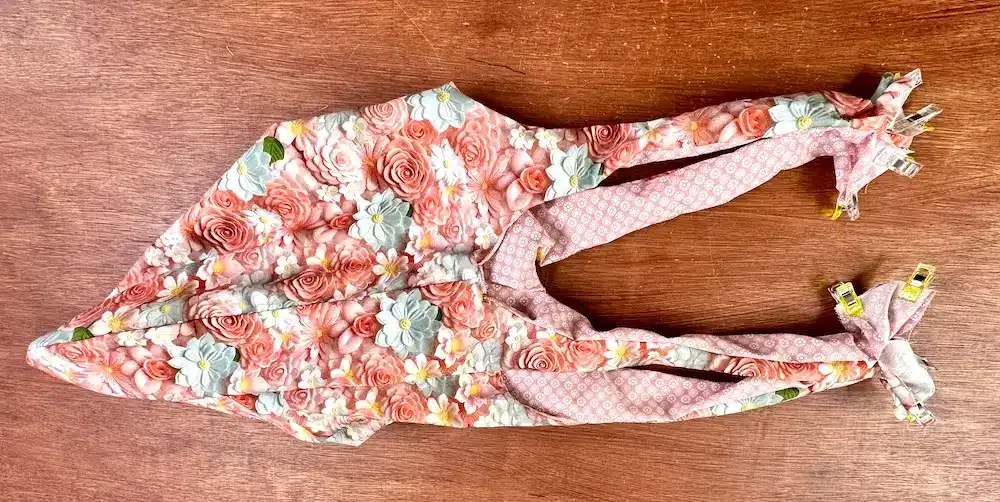
Once the handles are sewn, the seam allowances are tucked inside the handles, then both sides of the handles are topstitched as close to the edge as possible. This topstitching closes the openings on the sides of the handles, and reinforces their strength.
To close the opening in the bottom of the lining, we tuck the seam allowances inside the reversible bag, and 2 options: either make an invisible seam by hand, or topstitch as close to the edge as possible, all along the opening.
And your reversible tote bag is finished, congratulations to you!