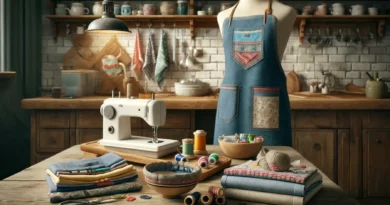
How to make perfect fittings when sewing printed fabric ?
For almost invisible seams, it’s possible to adjust the fit of your fabric’s prints when assembling the different pieces.
Here are a few tips to help you succeed in this task, which is not as perilous as it may seem!
To join or not to join?
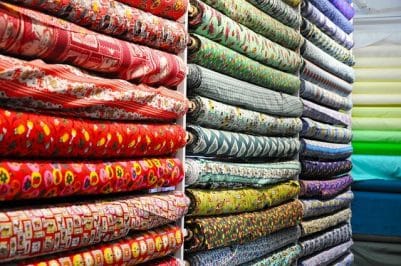
First of all, it’s not compulsory to join patterns when sewing a garment. It depends on how you want the garment to look, and on the pattern itself: stripes, flowers, asymmetrical motifs…
On a back-zipped dress with an invisible zip, for example, it’s best to connect the motifs. This will make the seams more discreet. So start by thinking carefully about what you want. However, if you’re just starting out, you can also choose not to add this difficulty!
Some pieces of fabric, for example, with gathers or darts in certain places, can’t necessarily be joined, as they will offset the patterns. Similarly, armholes are rarely connected. You can therefore choose to concentrate on the pattern’s most visible seams, without necessarily ensuring that all the motifs are perfectly joined.
Plan for more fabric
The first thing to note if you decide to connect patterns is that you’ll need more fabric than advertised on the chosen pattern.
The larger the pattern, the more fabric you’ll need. For smaller patterns that repeat over a smaller area, it will be easier to make the connection without wasting too much fabric.
You’ll also need to cut all your pieces in the same direction. This is essential to ensure that all motifs are placed harmoniously on the finished garment.
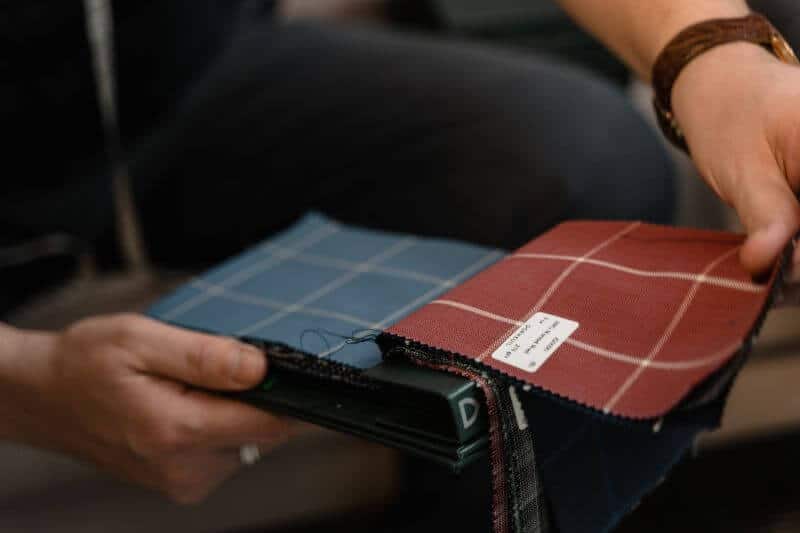
Joining patterns: how do I go about it?
The important thing here is to find the place where the fabric pieces will meet. You need to join the patterns at the line where you’re going to sew.
If your pattern doesn’t include seam allowances and you have to add them to the cut, don’t do anything. If your pattern does include seam allowances, draw the seam line on your first piece (the seam allowance is usually 1 cm).
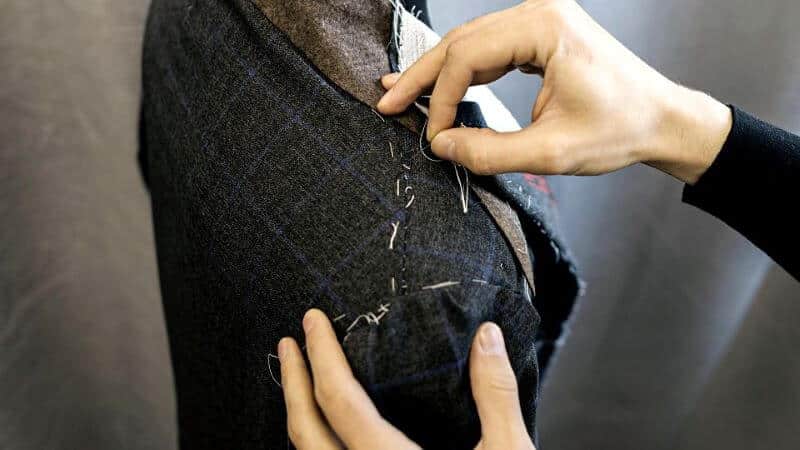
You will then cut each piece of your pattern one by one, on a single layer of fabric. Take your time with this step. Cut the first piece of fabric and iron the seam allowance to the inside of your piece. This will give you a clear view of where you need to connect the pattern.
Then place your freshly cut piece on your fabric coupon, making sure that the pattern is well connected at the future seam. Pin your piece in place. Next, take the second pattern piece that will be joined to the previous one (the two halves of the back of a blouse, for example), still with the seam allowances folded inwards. Carefully pin the pattern to the fabric and detach the cut piece. Unfold or add the seam allowance, depending on the pattern you’re using. All that’s left is to cut this piece.
Do the same for all the pieces you want to join. It’s time-consuming, but you’ll get the perfect join!
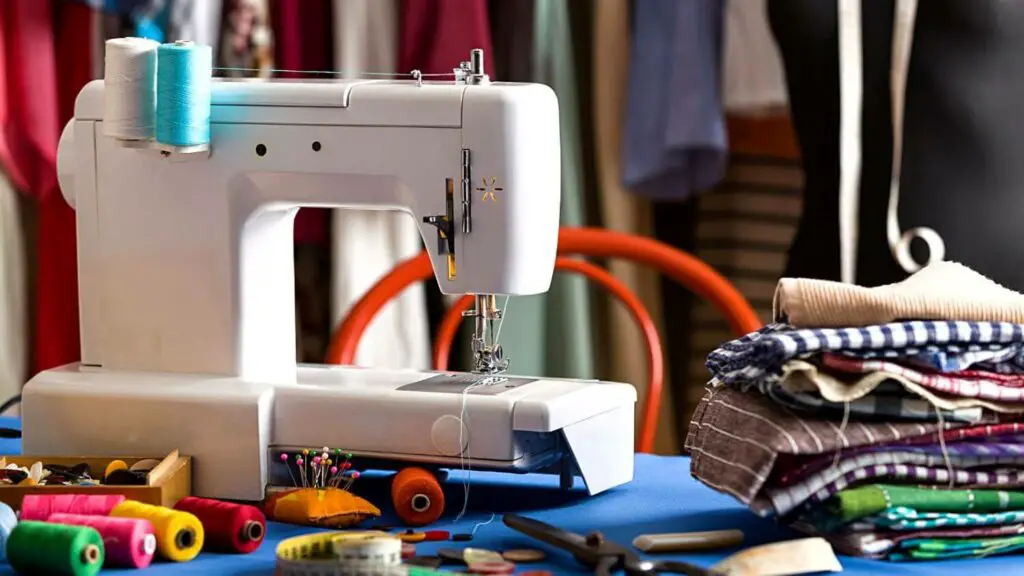
Take your time sewing
Having carefully prepared the various parts of the project, the crucial step remains: sewing! It’s a step you mustn’t neglect if you don’t want to spoil all the preparatory work.
Before sewing, start by pinning the pieces together. Between each pin, check that the motifs are properly connected to the right side of the fabric. To make sure nothing moves when you move on to the machine sewing stage, you can build up the individual pieces along the seam line.
You then proceed to assembly, taking your time and checking each time that the fabrics have not moved.
Certain fluid fabrics like viscose or silk tend to slip during assembly. We therefore take care to pin them well. Or use tissue paper and remove it afterwards.
What about you? Are you in the habit of joining patterns on the garments you sew? Are you tempted to give it a try?