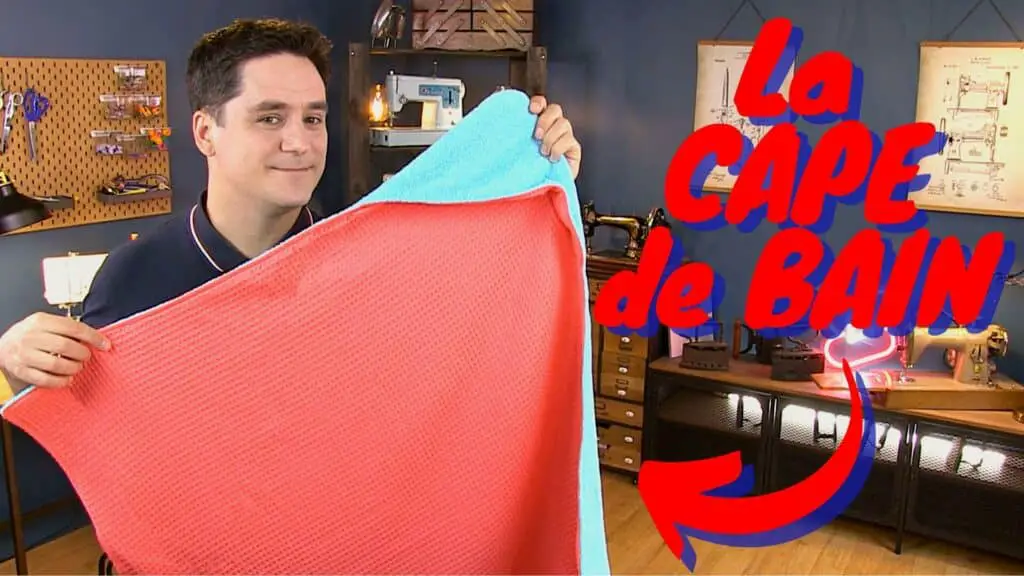
How to sew a bath cape
Are you new to sewing and looking for a project that’s both simple and useful? Look no further!
In this article, we’ll take you step-by-step through the process of sewing a reversible bath cape for babies and children. Not only is this cape quick and easy to make, it also offers undeniable practical benefits.
Thanks to its reversible design, it can be dried several times without soaking. What’s more, we’ll be using two types of sponge fabric – bouclette and honeycomb – for optimum absorption.
So, ready to dive into this sewing project? Let’s get started!
Materials required for sewing
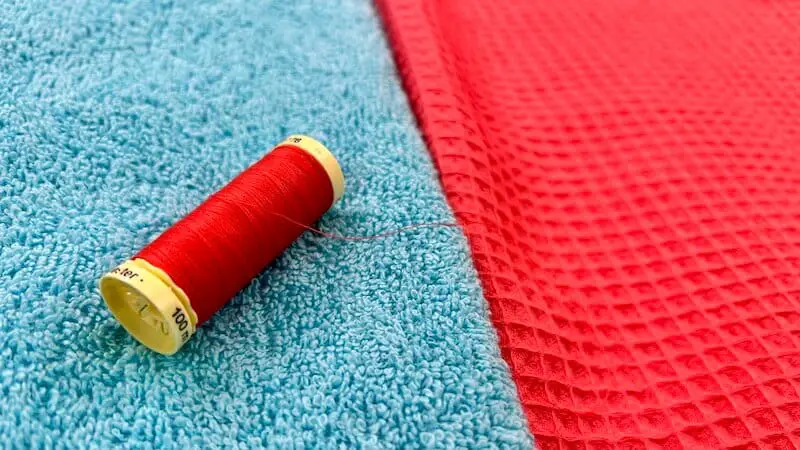
To sew this bathrobe, you’ll need :
- An 80 cm (31.5 in) square in terry loop fabric.
- A square of the same dimensions, in honeycomb terrycloth.
- An isosceles right-angled triangle, 30 cm (11.8 in) on a side, in fabric 1.
- A triangle of the same dimensions, in fabric 2.
And, of course, your usual sewing equipment!
Cutting the fabrics
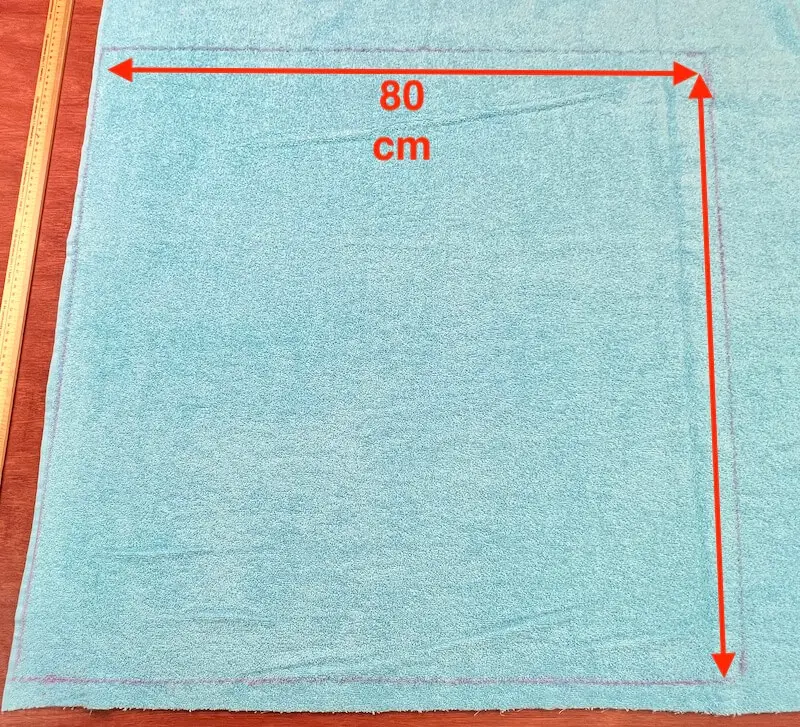
The first step is to cut a large 80-centimeter (31.5 in) square from one of the fabrics. To mark the terry cloth, use tailor’s chalk.
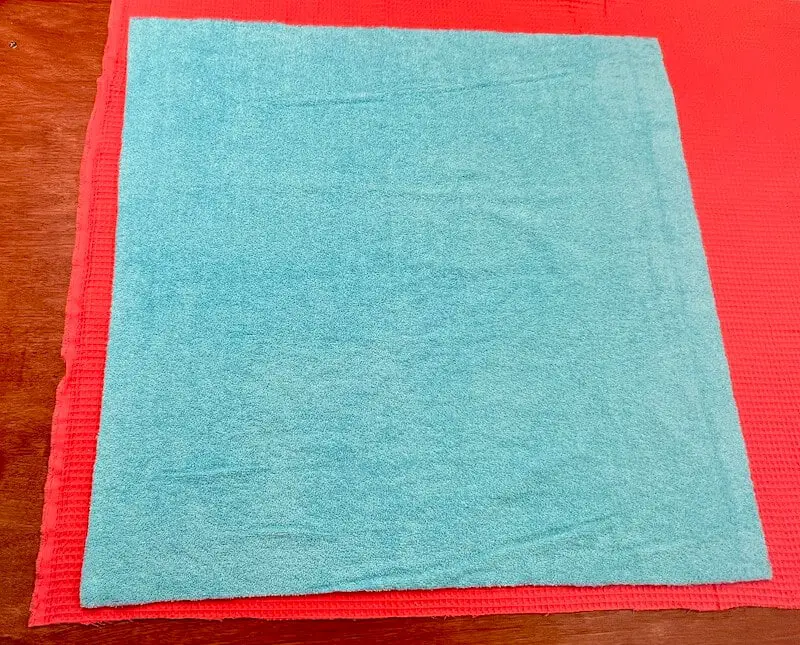
To cut the second square of fabric, use the first as a sewing pattern. Place the square directly on the fabric, pin it (or simply place sewing weights on it), and cut around it.
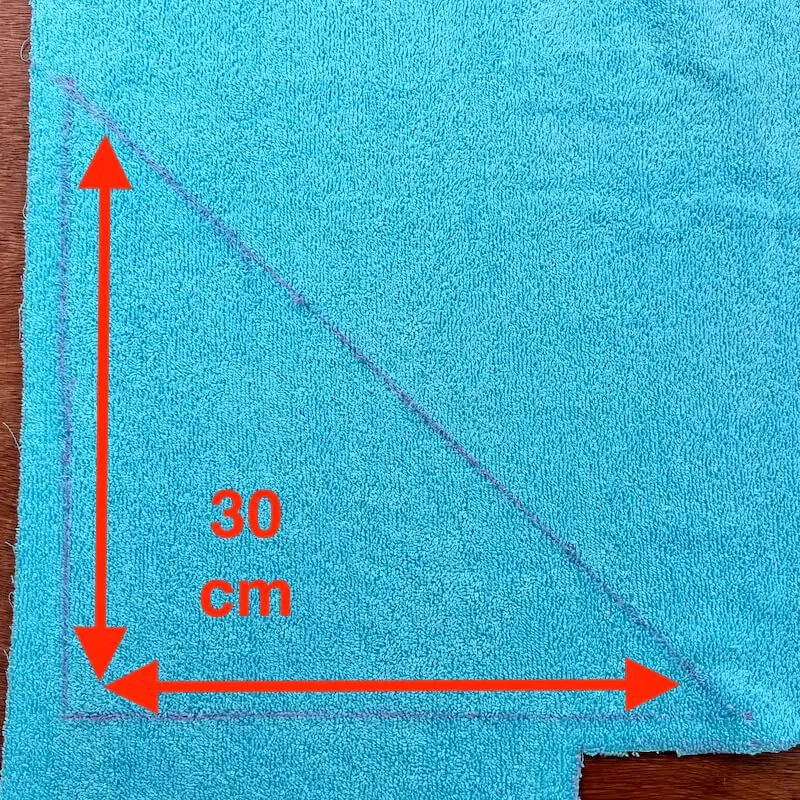
For the hood of the bathing cape, we’re going to cut out 1 right-isosceles triangle, 30 cm (11.8 in) on each side, from each fabric.
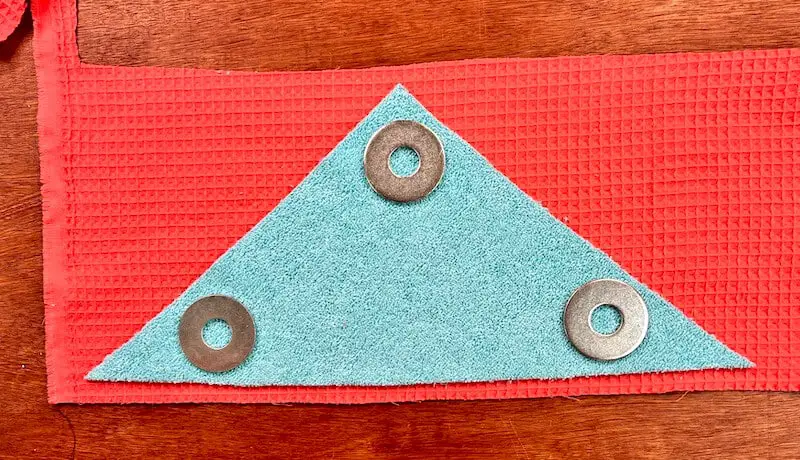
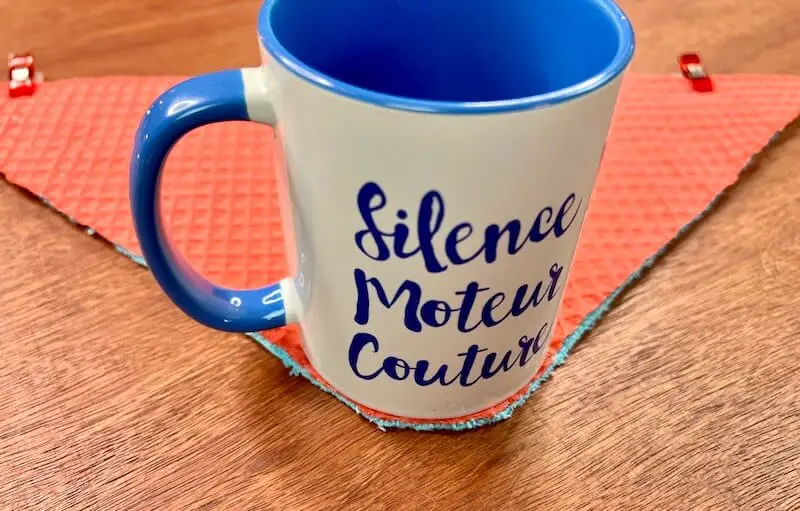
Puis, nous allons arrondir le sommet de la capuche. Pour cela, nous allons utiliser une tasse. Vous la positionnez sur le haut du triangle (côté angle droit), et laissez dépasser la pointe du triangle. Et avec votre paire de ciseaux à tissus, vous coupez ce qui dépasse.
Assembly
The first step is to sew the 2 triangles together to form the bathrobe hood. Place the 2 triangles right sides together (I’m well aware that right sides together on terry cloth is a tricky business! Truth be told, we don’t really care). Align all sides and pin the long side, which we’ll sew in straight stitch, 1 cm from the edge.
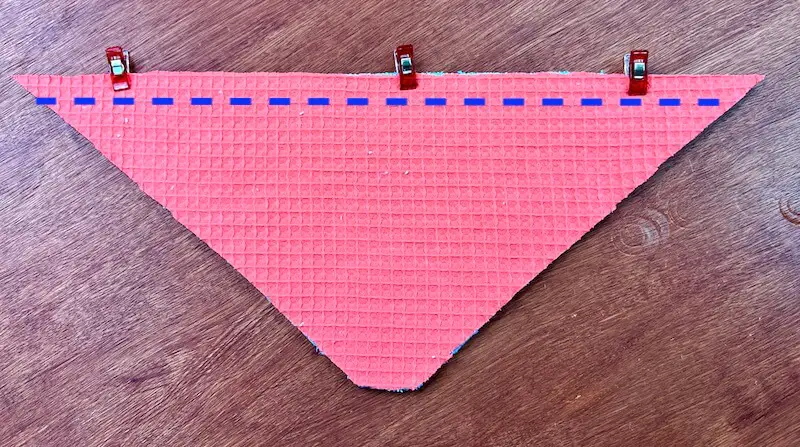
Cut off any excess seam threads, and turn the assembly right side out. The 2 triangles are now right sides together. Now it’s time to topstitch as close to the edge as possible, along the seam we’ve just sewn.
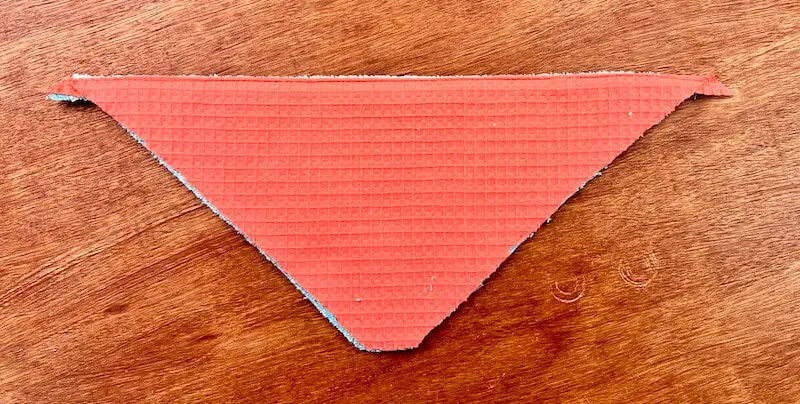
Right on! Now we position one of the 2 large squares of terry cloth, right-side-up. On top, we place the hood we’ve just prepared. Match the edges and pin. Use the rounded triangles to round off the tip of the square.
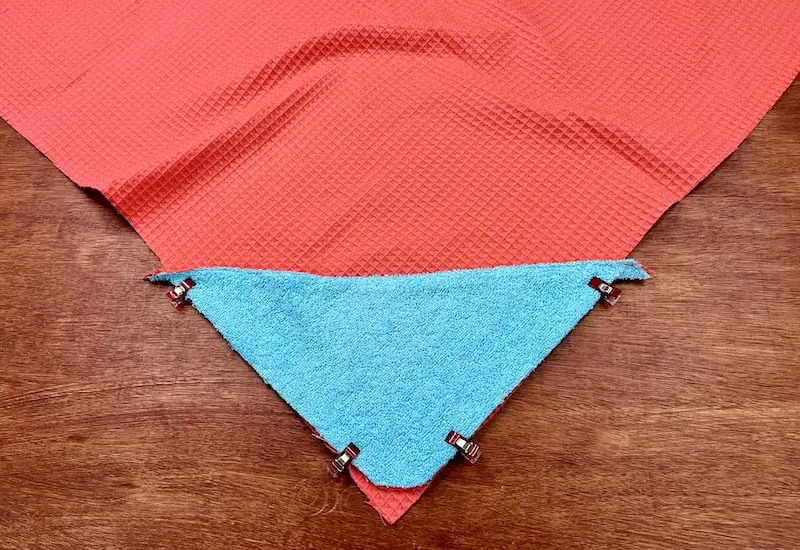
Then, with right sides together, we position the other square of terrycloth, again aligning the sides. And we’ll sew all around, leaving a 20-centimeter opening on one side.
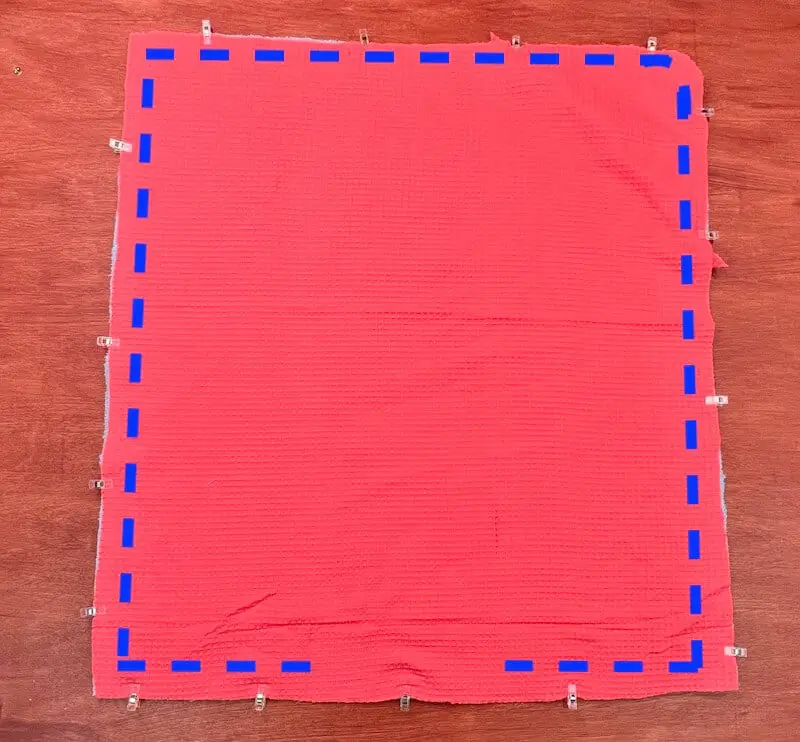
The corners are trimmed, the excess seam allowance is cut away, and the rounded edge is notched. And through the opening we’ve left, we turn the bathtub exit right side out.
You push in the corners and seams, tuck the seam allowances of the opening inside the bath cape, and topstitch almost all the way around. Start sewing at the hood, and sew to the other side of the hood.
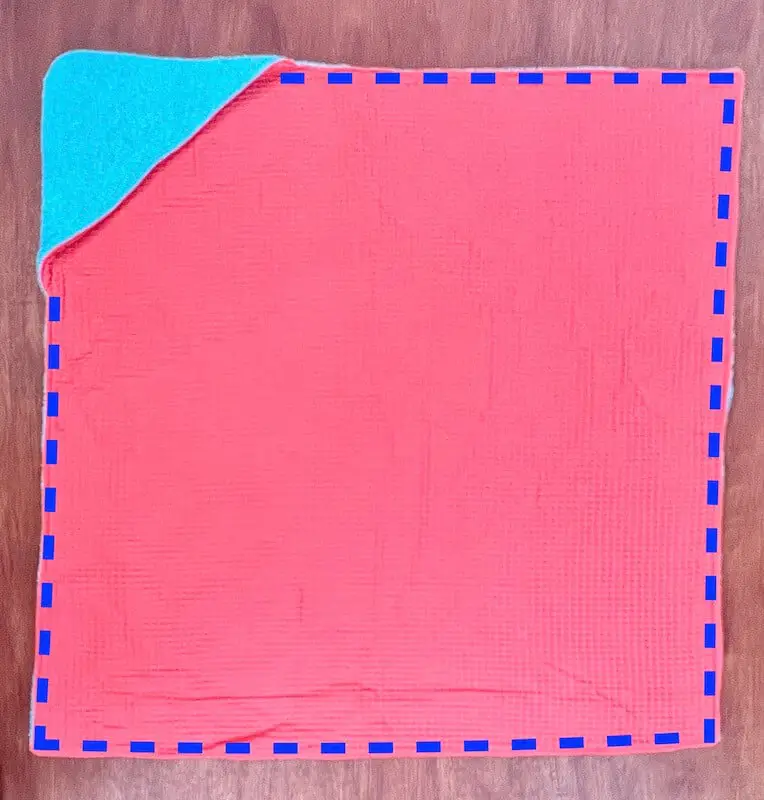
Cut all the little sewing threads that stick out, and you’re done – bravo!
