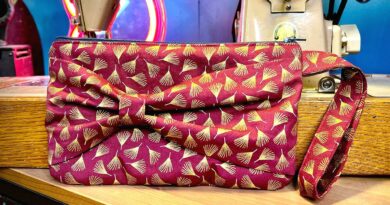
The Water bottle holder
Whether it’s hiking in the great outdoors, yoga sessions in the studio or just commuting to the office, staying hydrated is essential to our daily well-being.
But how do you keep your drink at the ideal temperature while adding a touch of personal style? The answer lies in a homemade accessory: a hand-sewn insulated water bottle holder.
This step-by-step tutorial guides you through the process of creating your very own isothermal bottle holder, a practical and attractive sewing project that’s sure to be the envy of your next adventure.
So get out your needles, choose your favorite fabrics, and get ready to transform your daily hydration experience with this one-of-a-kind sewing tutorial.
Sewing materials
To sew this bottle holder, you’ll need the PDF pattern, which you can download for free by clicking here or on the CoutureEnfant Facebook english group, in the “Files” tab.
Regarding the sewing material, you will need :
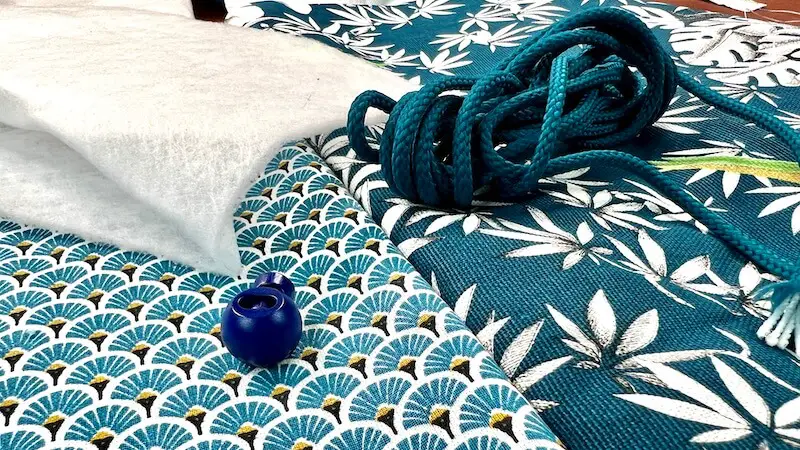
- A 30 X 45 cm (11.8in X 17.7 in) coupon in a strong, thick tarpaulin-type fabric.
- A 30 cm X 50 cm (11.8in X 19.7 in) coupon in a thinner fabric, such as cotton or pretty poplin.
- A 30 cm X 45 cm (11.8in X 17.7 in) coupon in fleecy iron-on.
- 2.5 meters of round cord.
- A cord clamp.
And, of course, your usual sewing equipment.
Cutting the PDF pattern and fabrics
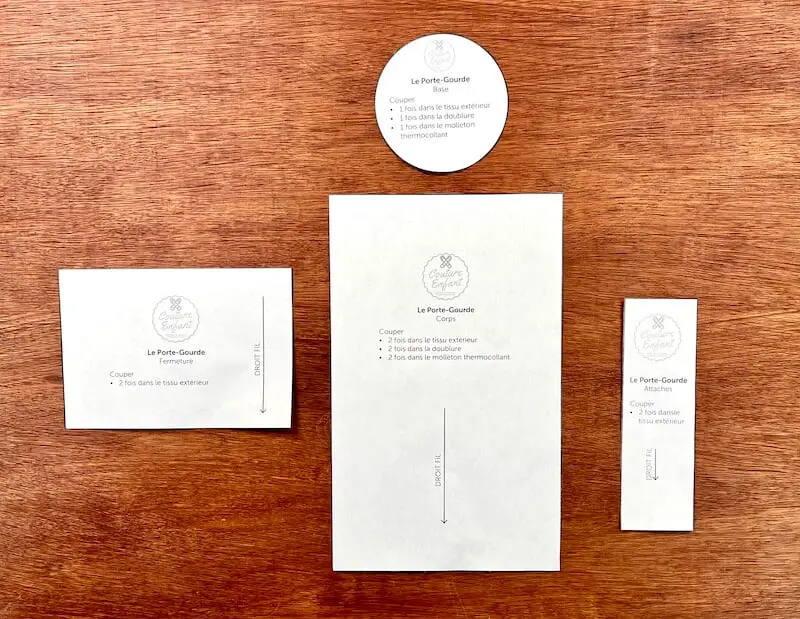
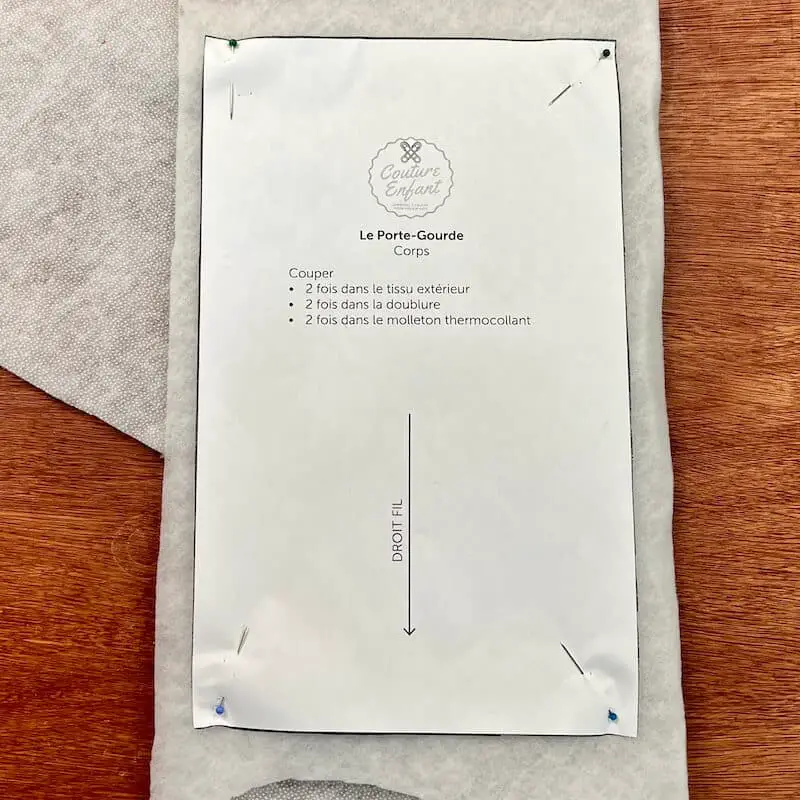
Once you’ve downloaded the PDF pattern and printed it to size, it’s time to cut out the 4 pieces. Using your paper scissors, you cut the BODY, ATTACHMENTS, CLOSURE and BASE pieces, without adding any seam allowance: they’re already included on the pattern.
We now move on to cutting the fabrics.
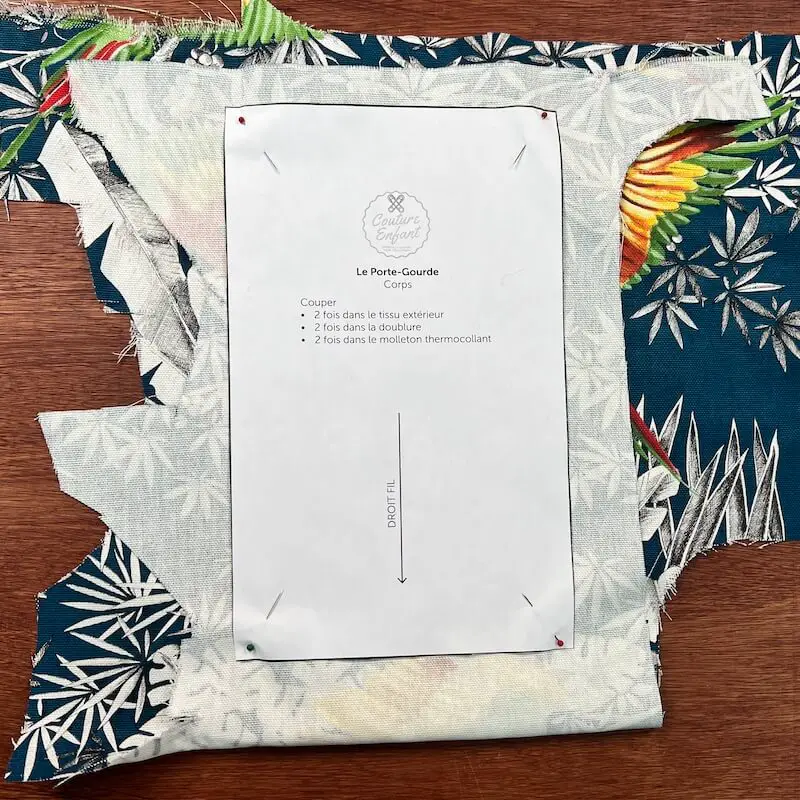
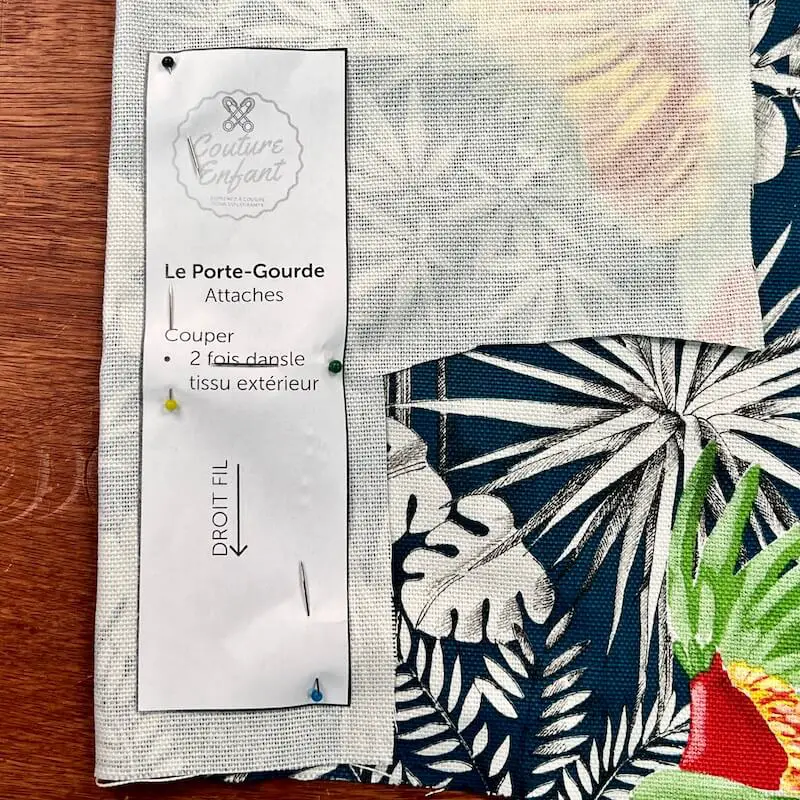
In the outer fabric, we’ll cut the BODY and ATTACHMENT pieces twice. To do this, we fold the fabric over on itself, then position the pattern piece on top and pin it. Then cut all around.
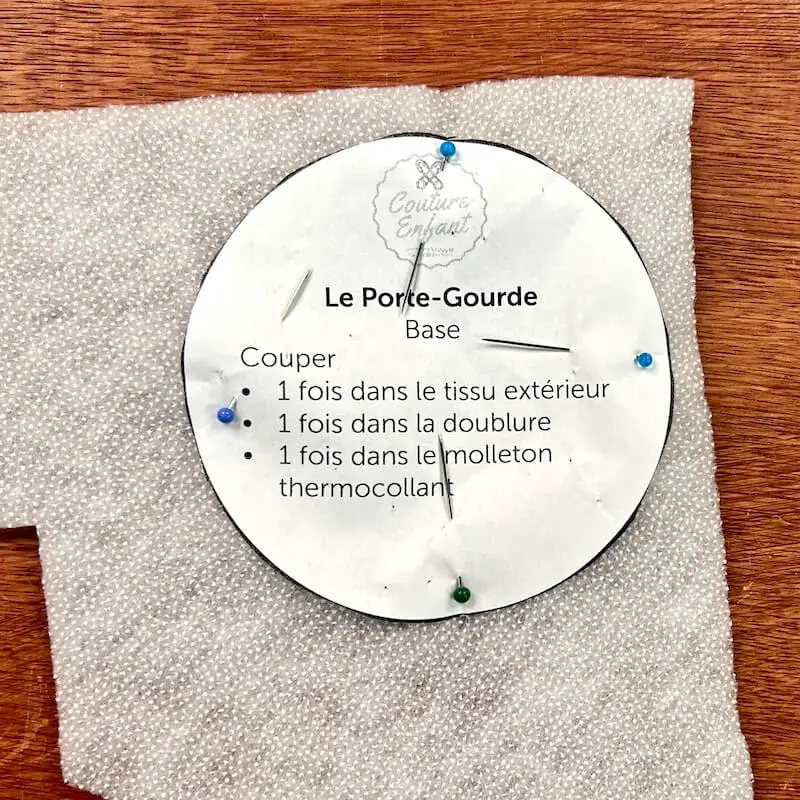
There’s one last piece to cut out of the outer fabric: the BASE. Position the piece directly on the fabric, and cut around it.
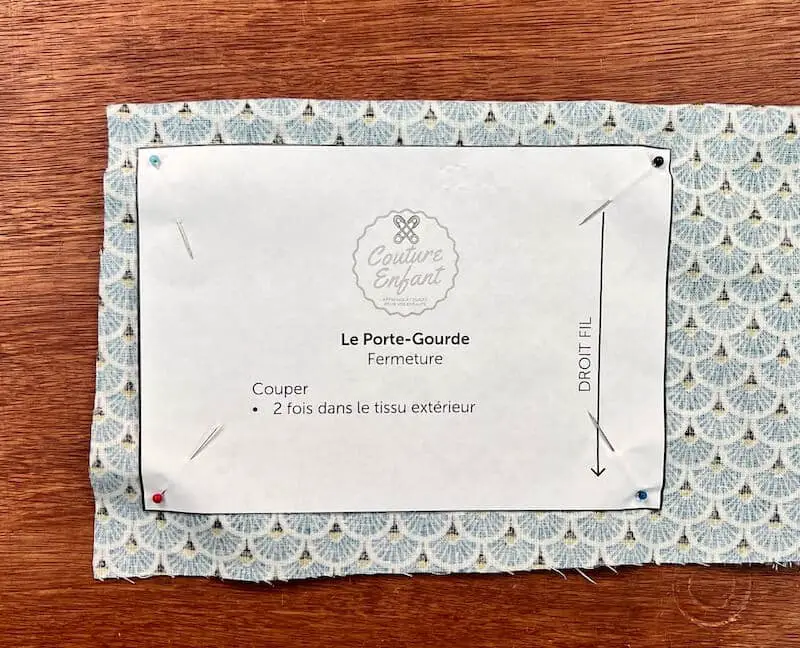
In the lining fabric, we’ll cut the BODY and BASE in the same way. But in addition, we’ll need to cut the CLOSING piece twice. For the CLOSING piece, we proceed in exactly the same way as for the BODY: we fold the fabric over itself, pin the piece to it and cut around it.
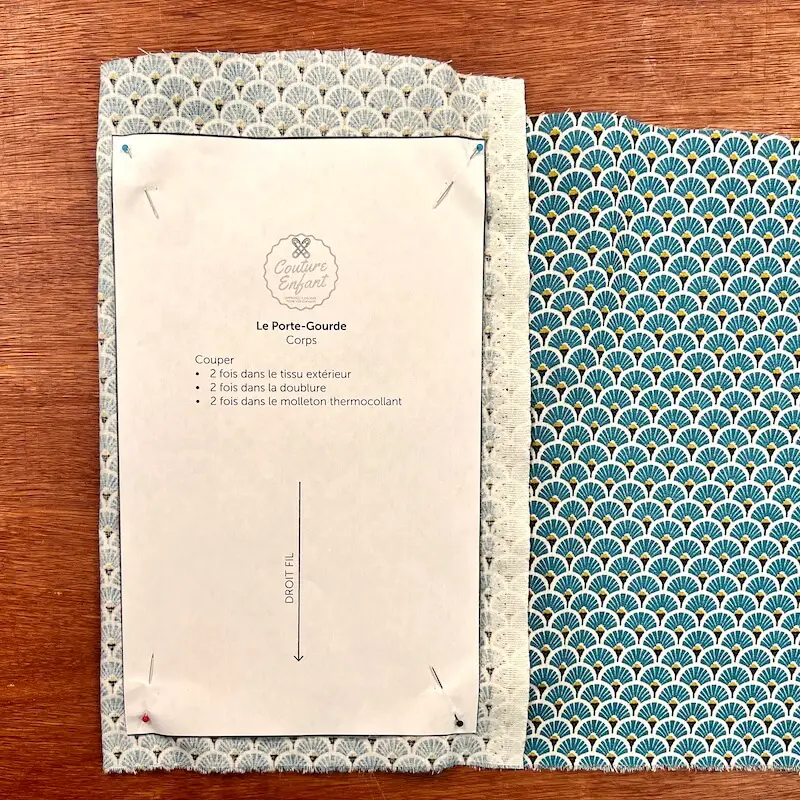
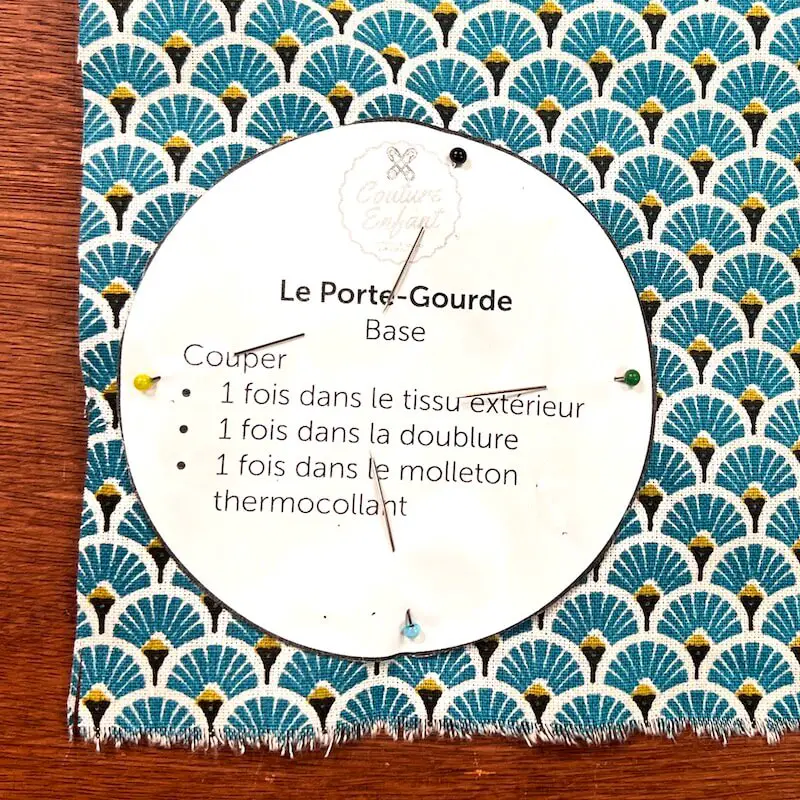
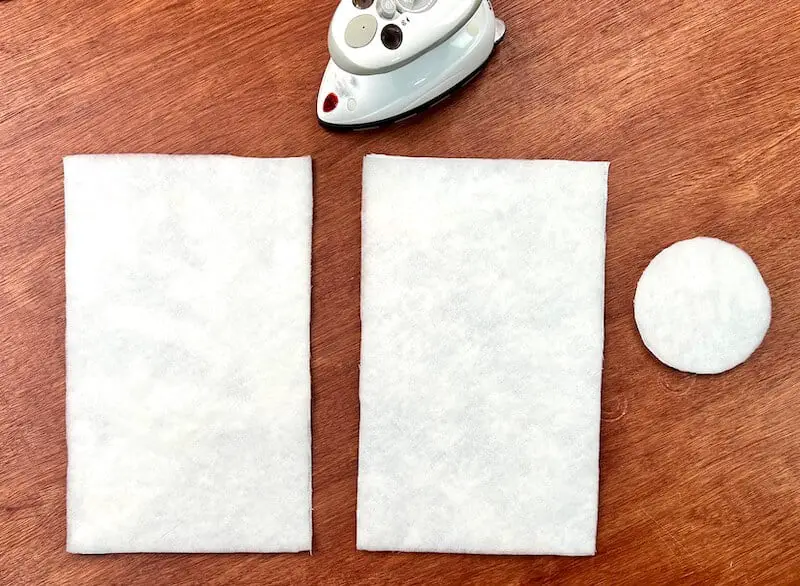
Finally, we’ll cut out the BODY and BASE parts from the fleece, always in the same way.
Before going any further, you’ll need to iron the BODY and BASE pieces. Place the backing pieces facing you, and place the fusible fleece pieces on top. Then press for 12 seconds with an iron.
The water bottle holder fasteners
We’re going to start sewing this tutorial by taking care of the FASTENERS.
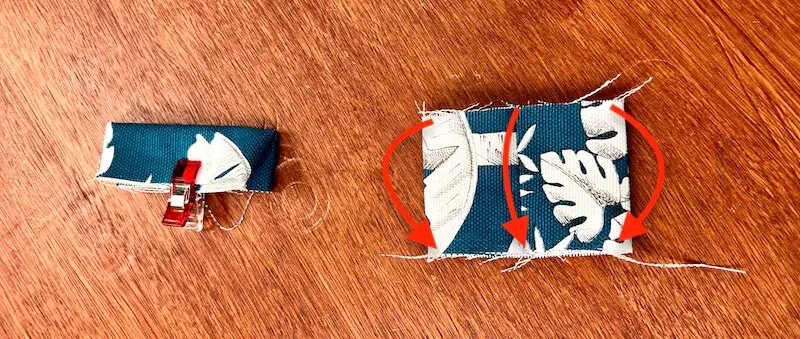
We place the 2 pieces face down, and fold them lengthwise. Then, using the sewing machine, we stitch the 2 ends with a straight stitch, starting and ending the seams with stop stitches.

Then, turn these fasteners right side out, and press the seam in the middle of the strip this forms. Finally, fold the strip over so that the raw sides are edge-to-edge.
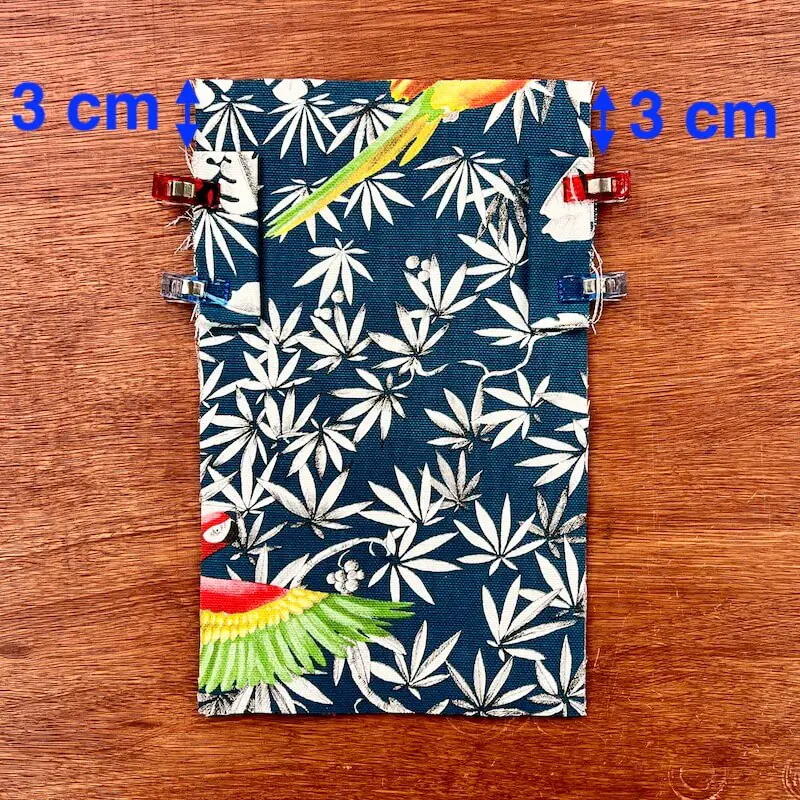
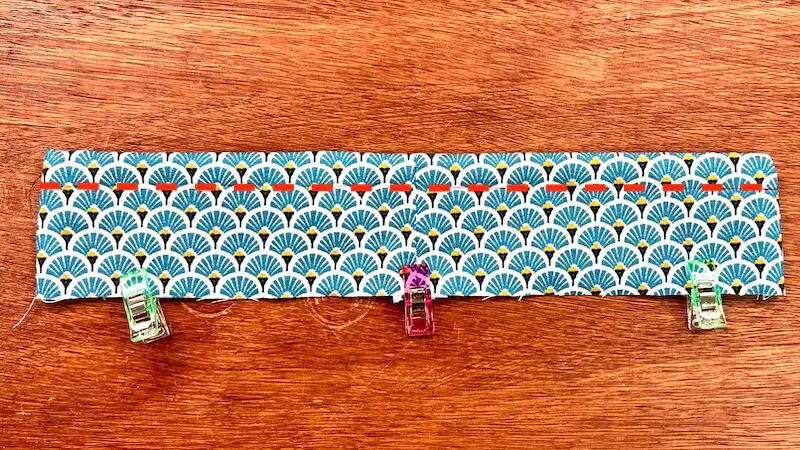
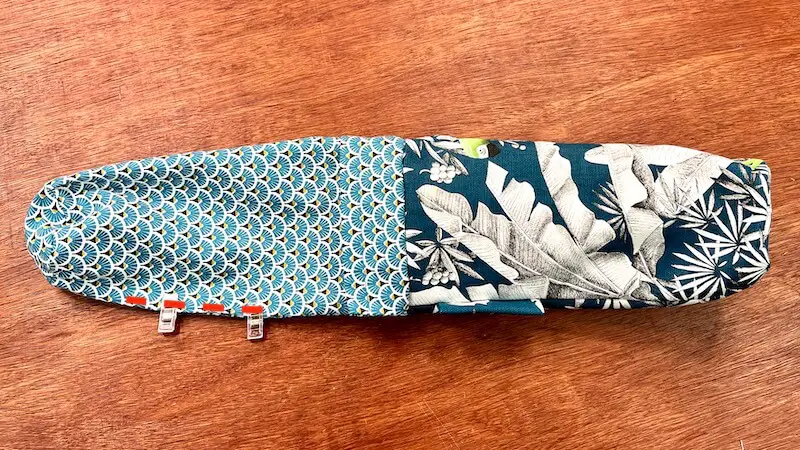
Now place one of the BODY rectangles right-side-up in the outer fabric. Then, 3 cm (1.2in) from the top of the rectangle, place the top of the fasteners.
Assembly
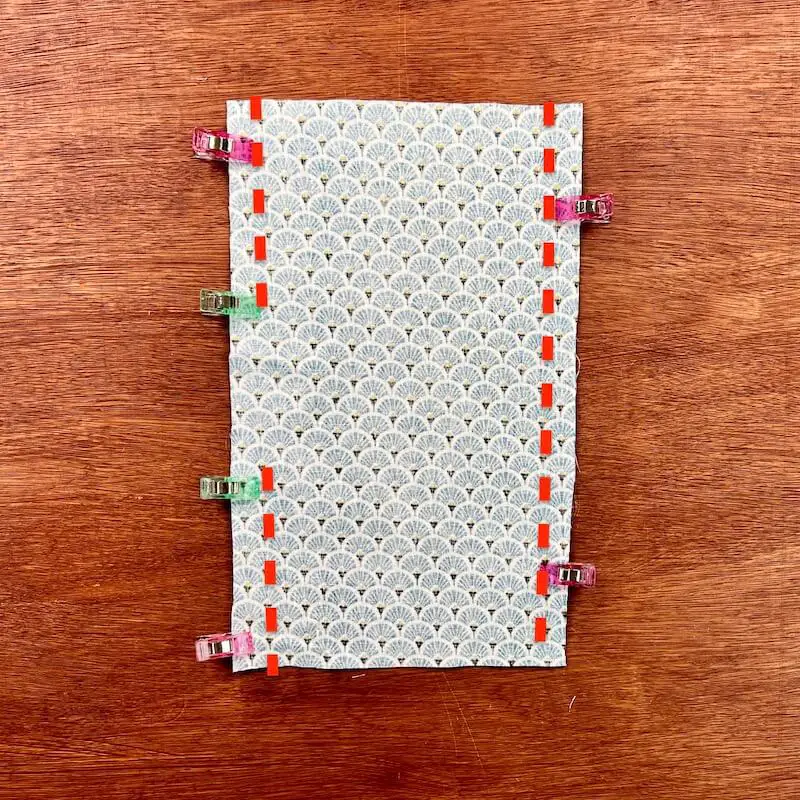
Then, right sides together, we place the 2nd body rectangle in the outer fabric. We pin the 2 long sides, and sew them together with a straight stitch.
Before that, let’s prepare the other pieces.
With the BODY pieces in the lining fabric, you place one of the rectangles right-side-up facing you, and on top, right-side-up, you place the 2nd rectangle.
As with the outer fabric, we’ll sew the 2 long sides together, except this time we’ll leave a 15 cm opening on one side.
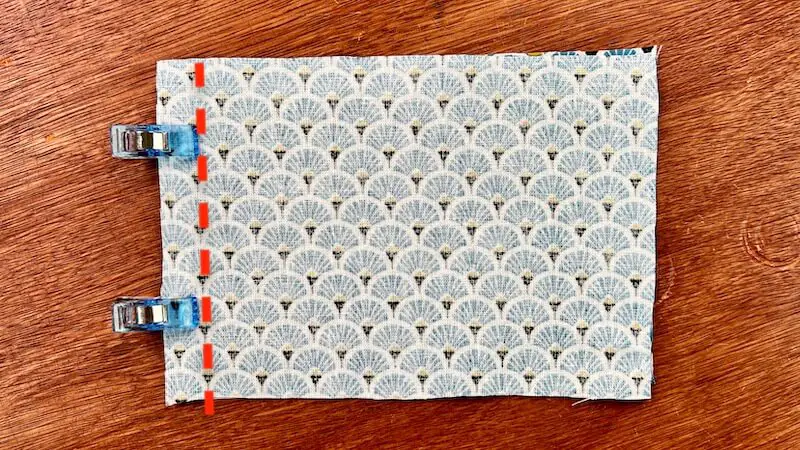
The last piece to prepare is the CLOSING. Place the 2 rectangles right sides together, and straight-stitch one side only.
Open all seams with an iron.
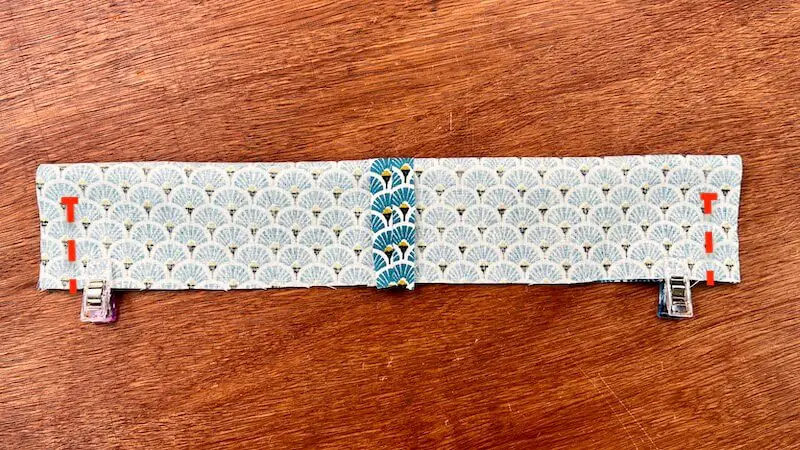
To CLOSURE, open the seam with an iron, and fold the strip right sides together. And on the sewing machine, we’ll sew the 2 short sides, leaving a 1.5cm (0.6in) opening at the fold.
Next, we iron the zipper tape on the right side, and topstitch from one opening to the other. This will create a slider, which we’ll later use to thread the cord through to close the bottle holder.
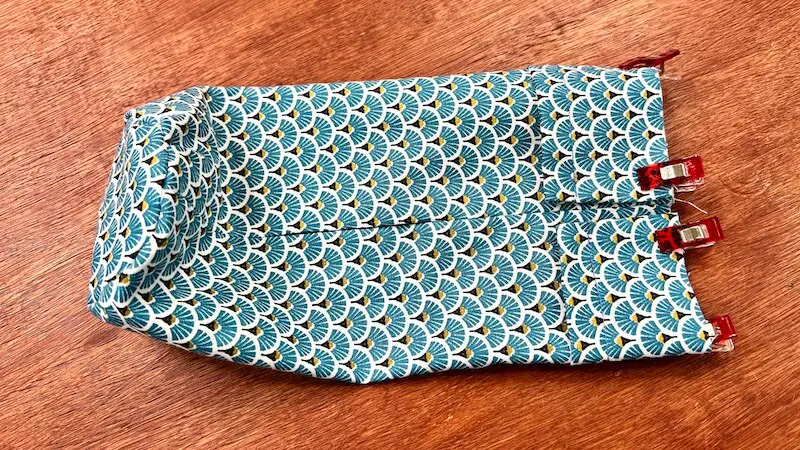
Now we need to sew the BASE to the body of the bottle holder. To do this, fold the base in on itself, in the middle, so as to mark the center of each side (the diameter of the base, after all). Now align the marks with the seams on the edges of the body. Pin in place, and straight-stitch 1 cm from the edge.
We notch the rounded edges we’ve just sewn, i.e. we give the seams small blows with the blade, so that the fabric doesn’t bulge and pull afterwards.
Then, turn the lining right side out, and on top, position the CLOSING. Place one end of the fastener on the body seam, and pin the strip all the way through.
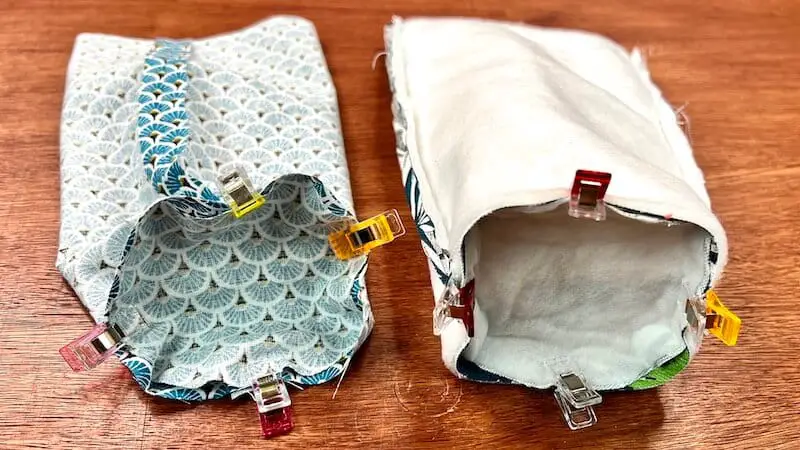
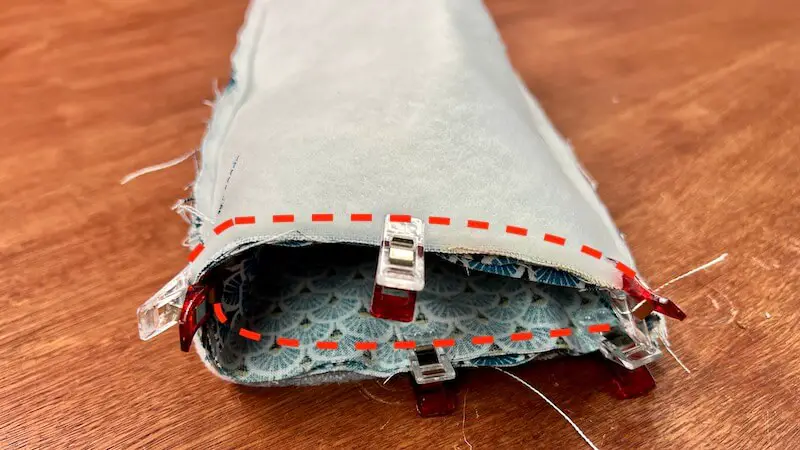
The lining is now inserted inside the outer part. Lining and outer fabric are joined right sides together. Pin the top of the gourd holder, and stitch 1 cm (0.4in) from the edge.
Through the opening we’ve left in the lining, we turn the bottle holder right side out, then close the opening with a discreet topstitch.
You can turn off the sewing machine – we don’t need it for this tutorial! Let’s get the lining into the water bottle holder, and on to the fasteners!
The fasteners and closure.
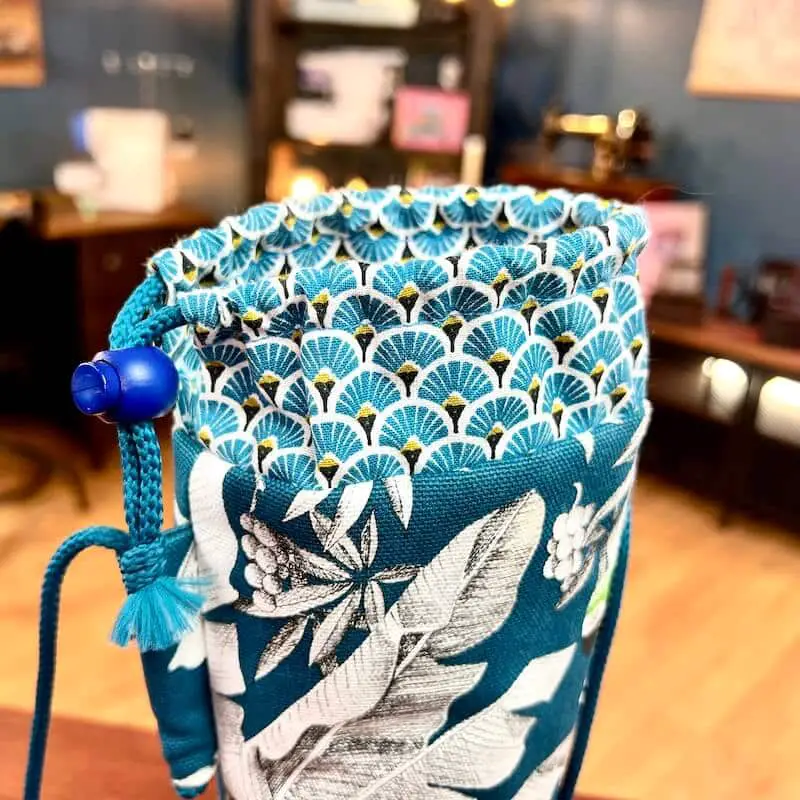
To thread the cord through the fastener, we’ll need a safety pin. With this pin, we prick the end of the cord and insert it into the zipper’s slide. We use the pin as a shuttle to advance the cord through the slide.
When the cord emerges from the other opening, leave yourself a little slack, and place the cord clamp. Then tie a knot with the 2 ends of the cord.
For the fasteners, thread the cord through the inside, and secure it with a double (or even triple) knot at the end. As for the length you need, that’s up to you!
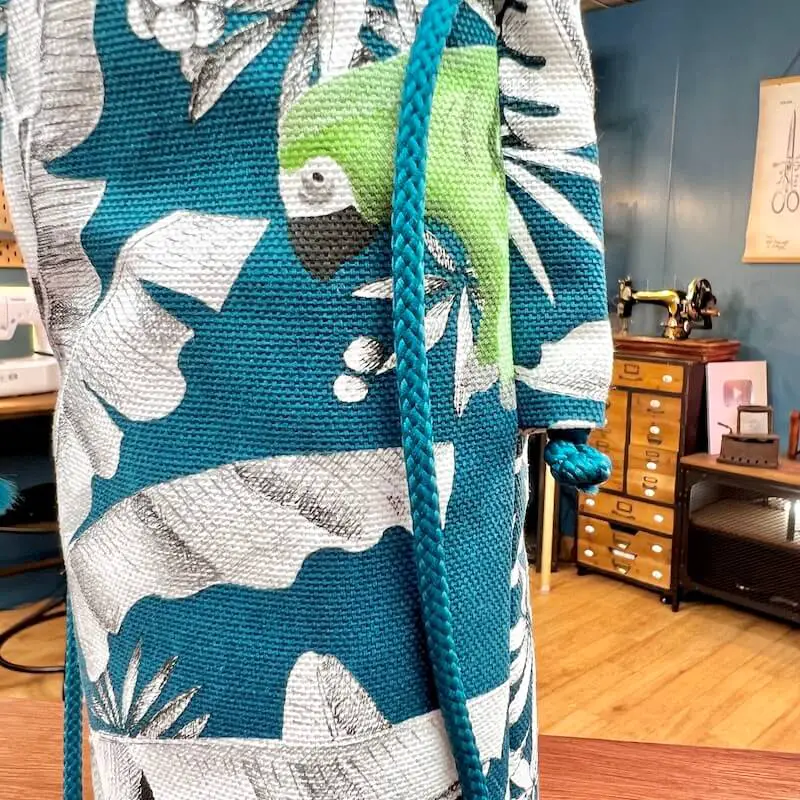
Cut off the excess cord, just after your knots, and you’re done! Congratulations!