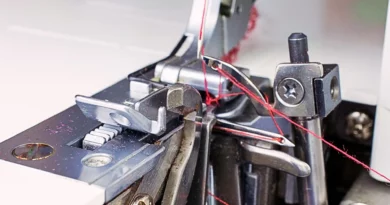

What supplies do you need to get started with sewing?
Want to get started with sewing but don’t know what to buy? Here’s a complete list of the essentials, what you really need to spend, and—most importantly—what you shouldn’t buy.
Sewing has a reputation problem: people think you need a workshop packed to the brim and a budget of several hundred euros to get started. That’s not true.
With a decent sewing machine and about ten well-chosen tools, you can sew your first projects without ever feeling stuck.
I taught myself to sew about ten years ago, and I made every possible mistake when it came to buying supplies: the set of sixty spools I never used, the three-euro scissors that tore the fabric, and the seventy-euro sewing machine that put me off sewing for six months.
This article is the list I wish I’d found back then: the bare essentials, what can wait, and the pitfalls everyone falls into.
The short answer: The 8 tools you can’t sew without
If you take away just one thing from this article, make it this chart. These eight tools are all you need to sew your first simple project—in addition to a sewing machine and an iron, which you may already have.
| Tool | What It’s Really For | Estimated Budget |
|---|---|---|
| Sewing scissors | Cut the fabric cleanly, without fraying the edges | €20 to €35 |
| Seam ripper | How to Unpick a Seam Without Ripping It All Out | €5 to €8 |
| Flexible measuring tape | Taking Measurements and Measuring Fabric | 3 to 5 € |
| Chalk or tailor’s chalk | Transfer the pattern onto the fabric | €4 to €8 |
| Fine Pins | Secure the parts before stitching | €6 to €10 |
| Polyester yarn | Assemble it—and it’s the quality of the thread that keeps the seam holding up over time | 3 to 5 € per spool |
| Replacement needles | A needle that isn’t the right size will miss every stitch | €5 to €9 per package |
| Iron | Plat, the stitching is worthless. It’s the most underrated step. | The one at home |
That’s about 50 to 80 € for small items, if you’re starting from scratch. The rest of this article goes into detail about each category, what you can expect, and what you might want to leave in the store.
Cutting: Scissors are worth the price
This is the area where people think they’re saving money but actually end up losing the most. A pair of low-quality sewing scissors tear the fabric: the edges fray, the pattern needle slips, and your piece never quite turns out the way you intended.
You can tell a good pair of sewing scissors in a store by three things: they cut through the fabric all the way to the tips of the blades, they stay aligned, and they don’t feel too heavy in your hand.
One golden rule: sewing scissors should never be used to cut paper. Even a single piece of paper can damage the blades.
If you live with other people, buy a separate, much cheaper pair of paper scissors—that sends the message better than a long explanation.
- Sewing scissors (€20–35): your main pair, the one that should last about ten years. The Fiskars Classic remains a reliable choice—they’re easy to resharpen and easy to find.
- Embroidery scissors (€10–15): small and pointed, for cutting thread flush with the seam. Premaxscissors work perfectly for this.
- The seam ripper (€5–8): the tool you’ll curse every other day, yet one that will save an entire project. The ergonomic Prym is much more comfortable to use than a supermarket seam ripper, because it fits comfortably in your hand even when you’re using it for twenty minutes straight.
- The rotary cutter and cutting mat: best to skip these when you’re just starting out. They’re great for patchwork and cutting straight strips, but they’re unnecessary and dangerous for your first dress.
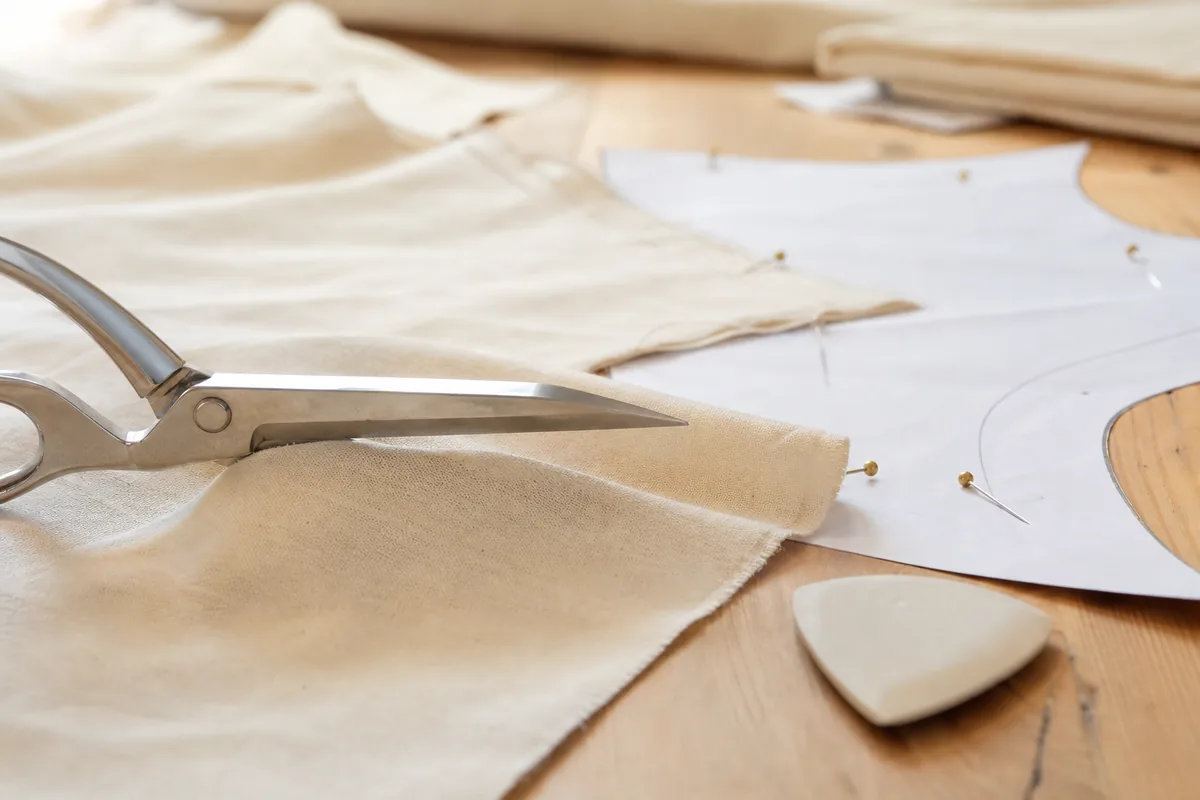
Measuring and Marking: Tools That Help You Avoid Cutting Crooked
Sewing is a matter of millimeters. Most pieces that don’t fit right aren’t the result of poor sewing, but of a rough pattern or a cut that’s off by a centimeter.
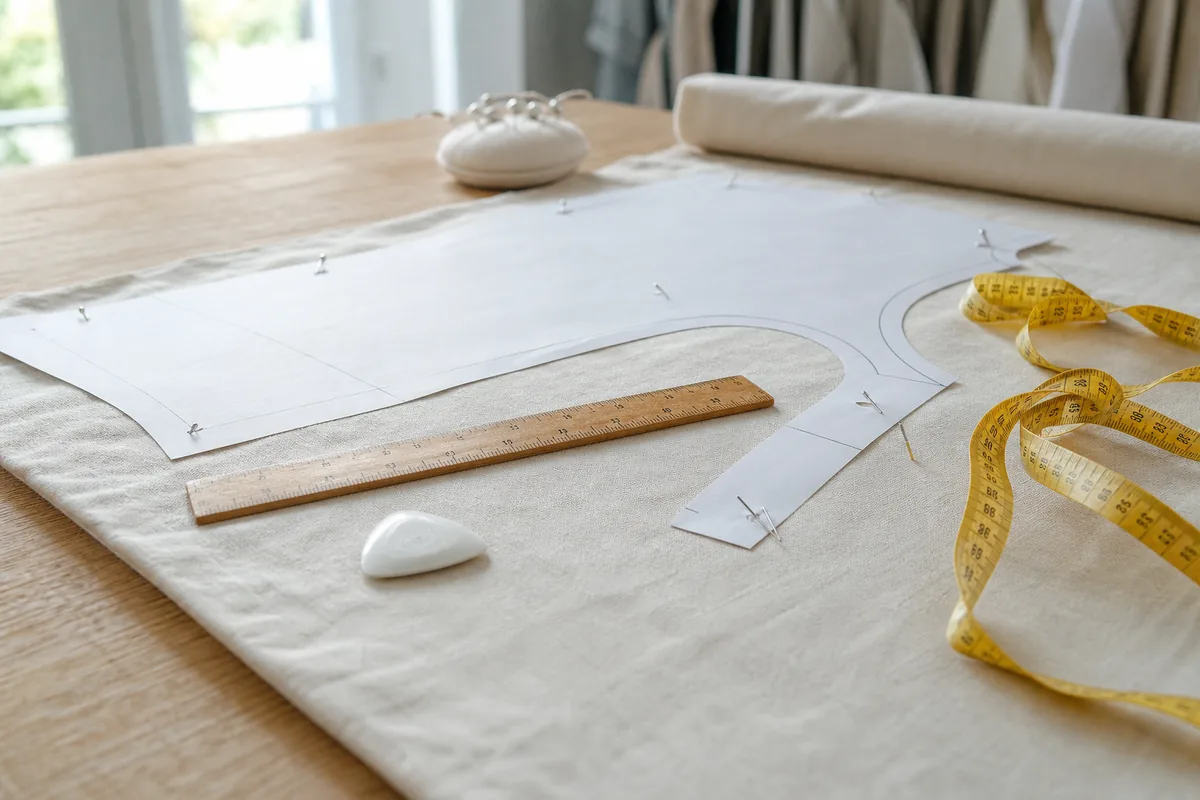
You only need four tools to draw neatly:
- The 150-cm flexible measuring tape: a must-have for taking measurements and checking the yardage of fabric. Choose one with a metal tip; plastic models wear out quickly at the end.
- A 60-cm rigid ruler: to draw straight lines on the pattern, mark the seam allowances, and check for grain. A standard desk ruler will do the trick at first.
- A tailor’s chalk or a washable pencil: Tailor’s chalk marks both layers at once, which is invaluable for transferring darts. A water- or heat-erasable pencil is more precise on fine fabrics, but always test it on a scrap before marking your piece.
- Pattern paper: for tracing a pattern without damaging it, or for making alterations. Tissue paper is nicer than newsprint, but much more expensive. For your first few projects, recycled tissue paper or a roll of basic pattern paper will work just fine.
If you don’t know how to read a pattern yet, don’t rush out and buy a whole set of tracing tools. Start with a pattern that’s already printed at actual size, then take the time to understand how it’s constructed: you’ll then figure out on your own which tools you’re missing.
Pin and Hold: Pins Aren’t Everything
Classic fine pins (€6 to €10 per box) are still the go-to for holding two pieces in place before stitching. Choose ones with glass or colored resin heads: they slide more easily under the presser foot, and you’ll be able to find them on the floor. A magnetic box or a magnetic pin holder isn’t just a gimmick when you’re sewing on the floor or on a cluttered table.
What people don’t often mention: on jersey, leather, vinyl, or fleece, pins leave visible holes. Plastic fabric clips (those large, colorful office clips) don’t mark the fabric and can be removed with one hand. It’s an investment of just a few euros that completely changes how comfortable it is to sew on delicate fabrics.
Threads: They’re what hold a seam together over time
Poor-quality thread breaks in the machine, forms loops under tension, pills during washing, and causes a seam you’ve carefully sewn to fade. For everyday use, choose 100% polyester: it’s strong, wash-resistant, and suitable for almost all fabrics.
The thread weight indicates its thickness. The most common weight, 100, is suitable for assembly and topstitching on light to medium-weight fabrics. The 120, which is finer, works best on fine fabrics and delicate finishes. For jeans, heavy cotton canvas, or upholstery, a 60 or 40 offers greater strength, provided it is used with the appropriate needle.
When it comes to colors, don’t try to have everything. White, black, ecru, and then three or four shades similar to the fabrics you use often: that’s more than enough for a year. Thread that doesn’t match the fabric exactly is much less noticeable than poor-quality thread.
Needles: The Chart That Solves 90% of Sewing Problems
If your stitches skip, if the thread breaks, or if the fabric wrinkles as it passes under the presser foot, the problem is very often the needle, not the machine. A worn-out or unsuitable needle can ruin an entire garment.
Change it for every major project, especially after sewing with a thick fabric.
| Fabric Type | Needle | Thread |
|---|---|---|
| Poplin, lightweight cotton, viscose, silk | 70 or 80 universal | 100 or 120 |
| Medium-weight cotton, linen, calico, cotton fabric | 80 or 90 universal | 100 |
| Jeans, heavy-weight denim, corduroy | 100 or 110 pairs of jeans | 60 or 100 |
| Jersey, knit, stretch fabric | 75 or 90 stretch | 100 |
| Microfiber, nylon, synthetic lining | 70 or 80 microtex | 120 |
| Leather, faux leather, vinyl | 90 or 100 leather | 100 |
Plan to have one package of each type you’ll actually use. To start with, one package of Universal 80 and one package of Universal 90 will cover the vast majority of projects. Add a package of stretch fabric and a package of denim if you already know you’ll be sewing knit or denim.
When sewing by hand, there’s just one useful rule: the needle should glide through the fabric without straining it. A needle that’s too thick leaves a visible hole in silk, while a needle that’s too thin bends when sewing through denim. A set of needles in sizes 5 through 10 covers everything you’ll need for finishing touches and buttons.
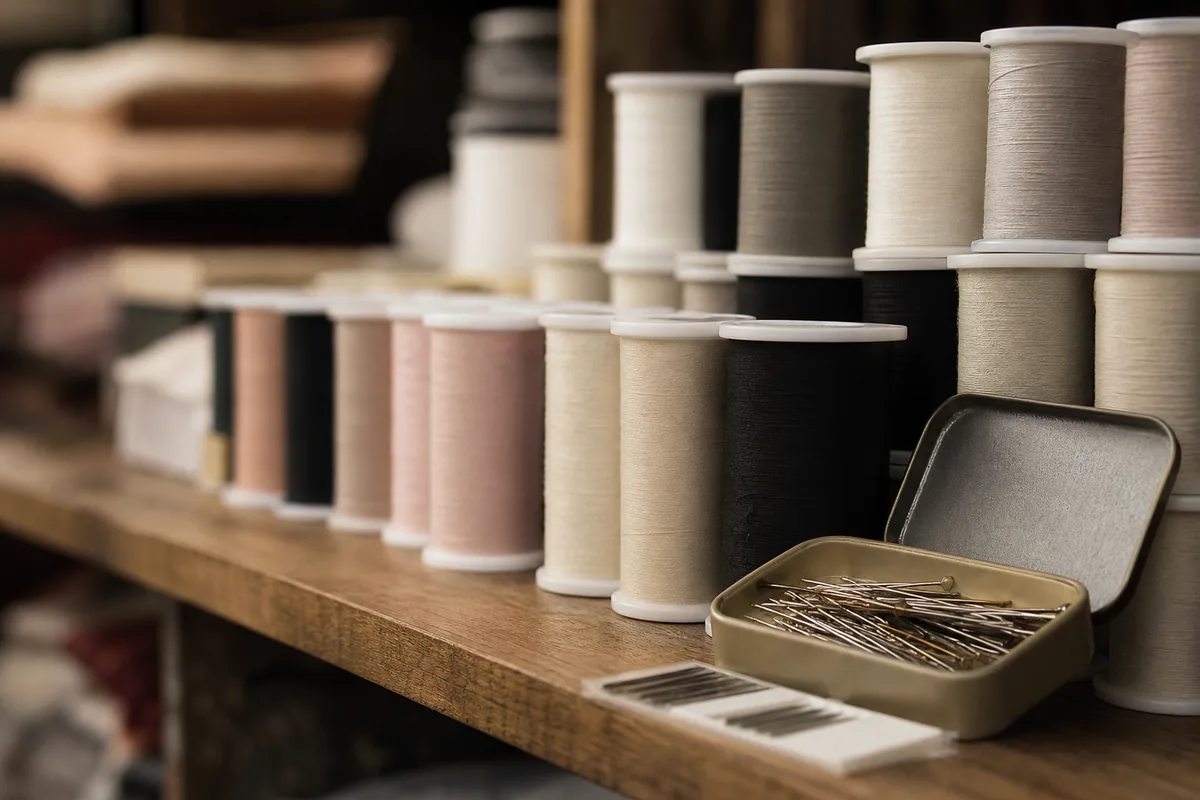
The sewing machine: the only real big purchase
This is the only area where the budget really matters, and where you shouldn’t rush. A simple mechanical machine—with a reverse function, a few straight stitches, and adjustments for stitch length and tension—is all you need for everything covered in this article.
What you should avoid is the €60 or €80 machine sold at big-box stores: it doesn’t sew jersey properly, it doesn’t hold its settings, and it discourages most people who buy it from sewing.
To make sure you make the right choice, take the time to read our guide on how to choose the right sewing machine when you’re just starting out.
And if you’re unsure about a specific model, my in-depth review of the Brother FS40s explains what you can expect from a solid entry-level machine.
If the machine is intended for a child, see instead ” Which Sewing Machine Is Best for a Child?”
Ironing: the step that all beginners skip
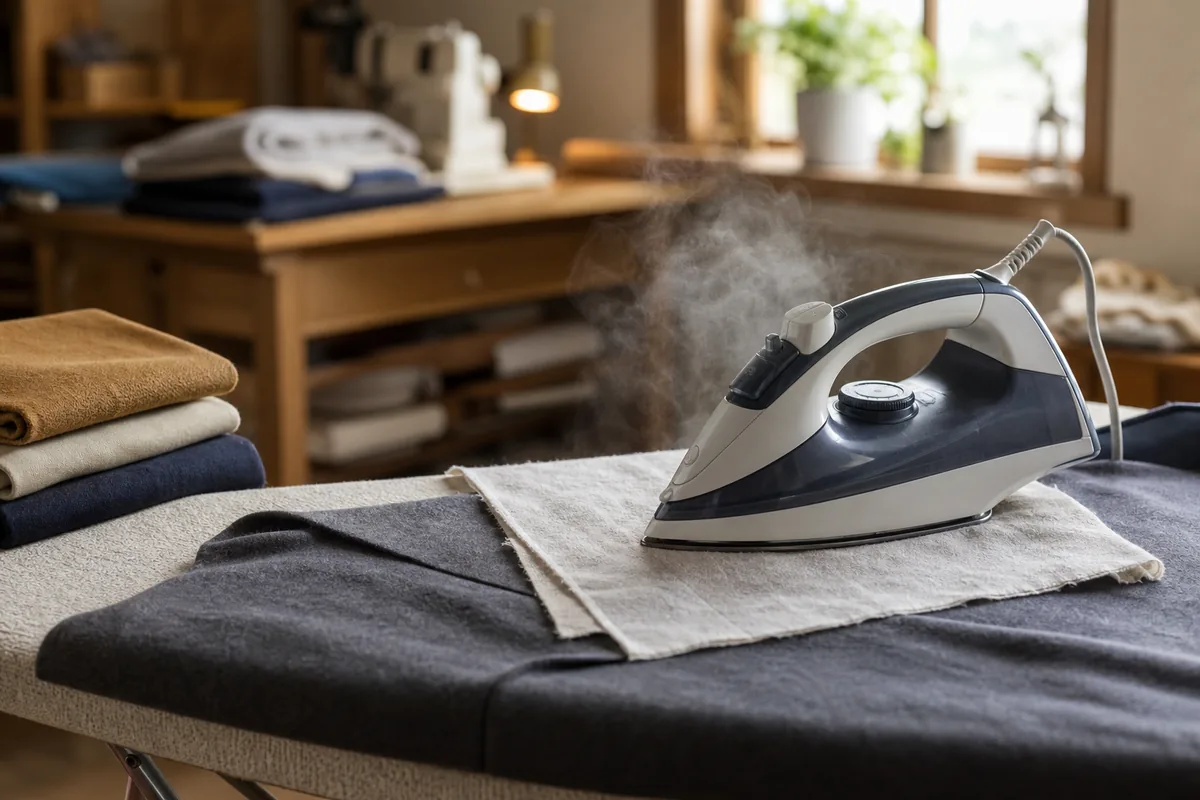
We can’t say it enough: sew on a flat surface, and a garment that’s been ironed as you go is better than one that’s poorly ironed at the end. A regular household iron does the job just fine. What’s often missing is an ironing board and a little organization.
- An ironing board—even a small one. Ironing a seam while it’s lying on a table won’t produce a flat result.
- A pressing cloth for ironing wool, silk, and delicate fabrics without leaving a shine. You can make one in two minutes using a piece of cotton: I explain everything in the article on the pressing cloth, an essential accessory for perfect ironing.
- An ironing pad (optional): useful for curves, darts, and shoulder seams, but you can wait.
Canvas and iron-on transfers: not just yet
Interlining is what gives structure to a collar, a waistband, or a pocket flap. It’s essential for clothing, but unnecessary for a simple first project. The pitfall is buying a random piece of interlining and then discovering that it doesn’t match the fabric.
Wait until you have a project that calls for it, and then read up on everything you need to know about interfacing and fusible interfacing. If you use interfacing that’s too stiff on a lightweight fabric, it will turn a soft collar into something stiff and plastic-like—and once it’s fused, there’s no fixing it.
The little tool that changes your life—someday
There’s a category of tools that aren’t necessary to get started, but that make sewing so much more enjoyable that you’ll wonder how you ever managed without them. Buy them as you go—never all at once:
- A pin magnet or a pin picker: no more accidentally stepping on pins.
- A precision pair of tweezers: for removing a snagged thread or threading a stubborn needle.
- A thimble or a finger thimble: a must-have whenever you’re sewing by hand through multiple layers.
- Clear storage containers: spools, buttons, and needles quickly get mixed up and are hard to find.
- Proper lighting: It’s the best possible purchase you can make for just a few euros, and no one ever talks about it.
How much does it really cost to get started with sewing?
Here are the three realistic price ranges, excluding sewing machines. The prices are approximate ranges based on what’s found in fabric stores and online: they vary by brand and during promotional periods.
| Bearing | What you have | Budget |
|---|---|---|
| The bare essentials | Sewing scissors, seam ripper, measuring tape, pins, chalk, 2 spools of thread, spare needles | 50 to 80 € |
| The comfortable | Level 1, plus embroidery scissors, a rigid ruler, holding clips, 5 to 6 threads, an assortment of needles, a magnetic pin cushion, and pattern paper | €120 to €160 |
| The Complete Workshop | Level 2: rotary cutter and cutting mat, various types of canvas, ironing pad, damp cloth, storage, and dedicated lighting | 250 to 300 € |
And as for the machine itself: expect to pay €150 to €250 for a decent mechanical model, and more for an electronic one. This is the item where it’s better to wait another month and make a smart purchase, rather than just grab the first sale you come across.
What Not to Buy: 5 Pitfalls for Beginners
This section isn’t found anywhere else, and yet it’s the one that will save you the most money.
- A set of 60 spools for €15. The thread is thin, brittle, and the colors don’t match any actual fabric. You’ll use three of them; the rest will end up in a drawer. Buy five good spools instead of sixty bad ones.
- The €3 scissors. They don’t cut well by the second project and damage the fabric. It’s the only tool where you can immediately feel the difference in quality under your fingers.
- The sewing machine costs €60. It doesn’t sew jersey, skips stitches on thick fabrics, and often doesn’t have a usable reverse function. You’re better off with a used brand-name machine than a new one at that price.
- The €40 “all-in-one” kit with 200 pieces. Of the 200 pieces, about 15 are actually useful, and the quality is what you’d expect for the price. The contents are meant to look impressive in photos, not for sewing.
- Complex PDF patterns aren’t idealfor a first project. A shirt with a collar, button placket, and cuffs isn’t a beginner’s project, even with a good pattern. Start with a simple, successful project—that’s where confidence comes from.
In what order to buy: Week 1, Month 1, and so on
If you don’t want to spend it all at once, here’s the order I recommend—based on my experience with dozens of people who’ve learned from my tutorials.
| When | What | Why Now? |
|---|---|---|
| Week 1 | Scissors, seam ripper, measuring tape, pins, chalk, white and black thread | Everything you need to sew your first simple project this weekend |
| Month 1 | Sewing machine, appropriate needles, embroidery scissors, holding clips | When you realize you really enjoy sewing |
| Months 2 and 3 | Rigid ruler, pattern paper, assortment of needles, interfacing for the current project | When the project needs it, not before |
| Later | Rotary cutter, specialized presser feet, ironing pad, storage | When a specific technique requires you to buy them |
The materials you need will vary depending on what you’re sewing
The basic list is the same for everyone, but what comes next depends entirely on your practice.
- Children’s clothing: the same tools, but with finer needles and a lot of patience. It’s the best way to learn, because the pieces are small and mistakes aren’t costly.
- Jersey and knit fabrics: stretch needles are a must, use clothespins instead of pins, and use a machine that can handle knit fabric. Without these, the seams will pucker and crack.
- Accessories and small projects: that’s where you get the least use out of your supplies. A project that takes less than 10 minutes requires three tools and a piece of fabric.
- Patchwork: A rotary cutter, cutting mat, and ruler are essential. This is the only case where I recommend buying them right from the start.
Where to Buy Sewing Supplies
When it comes to scissors, try holding them in your hand before you buy: it’s the only tool where how they feel in your hand is what matters. A local sewing supply store or craft store will let you test them out. For everything else, online sewing supply stores are often cheaper and offer a wider selection.
If you live in a big city, it’s worth stopping by brick-and-mortar fabric stores for advice. I’ve listed the best spots in my post on must-visit fabric stores in Paris, and you can find information on other cities on the blog.
And to avoid buying supplies you’ll never use, start with the 46 sewing terms you need to know: half of the vocabulary refers to supplies, and you’ll know right away what you need.
FAQ: Your Questions About Sewing Supplies
What is the difference between sewing supplies and sewing accessories?
In everyday language, both terms refer to the same thing: tools used for sewing. In the sewing supply store, “equipment” generally refers to durable tools (scissors, rulers, sewing machines), while “accessories” refers to more consumable supplies (buttons, fasteners, bias tape, elastic). For your beginner’s shopping list, this distinction doesn’t matter: what counts is what you actually need to sew.
Do you need a sewing machine to get started?
Not for your very first projects. You can learn the basics, sew a simple accessory, or hem something by hand with a needle and thread. But as soon as you want to sew a garment, a sewing machine becomes essential—if only for the strength and consistency of the seams.
My advice: Start by sewing by hand if you’re still unsure, and invest in a sewing machine once you know you enjoy sewing.
What’s the minimum budget needed to get started with sewing?
Expect to spend 50 to 80 € on the essential small equipment, not including the machine. If you also need to buy the machine, add 150 to 250 €. If you spend less than these amounts, you’ll almost always end up with equipment that’s disappointing and that you’ll have to replace, which ends up costing more in the long run.
Is it possible to sew without pins?
Yes, with fabric clips—and they’re actually better for jersey, leather, or fabrics that show pin holes. On regular cotton, pins are still faster and more precise for holding a long seam in place. Ideally, you should have both.
Which needle is best for which fabric?
Remember the general rule rather than the list: the thinner the fabric, the thinner the needle. A size 80 universal needle is suitable for most cottons; a size 100 or 110 for denim and heavy-weight fabrics; a stretch needle for knits; a microtex needle for slippery synthetic fabrics; and a leather needle for leather and faux leather.
The table earlier in this article lists the correspondences with the yarn weight.
Do you need a special pair of fabric scissors?
Yes, and it’s the best value purchase on the list. Sewing scissors have blades that cross each other along their entire length, which makes for a clean cut; kitchen or office scissors crush the fabric and cause it to fray. And a pair dedicated to fabric—which you never use on paper—stays sharp for years.
To summarize
You don’t need much to get started, and certainly not a fully equipped sewing room. A pair of sharp scissors, a seam ripper, a measuring tape, pins, chalk, good thread, and the right needles: with these, you’re already set to sew. The rest will come as you work on your projects, and that’s just fine.
The real pitfall isn’t a lack of supplies—it’s buying too much, too soon. Take the time to complete a simple, successful first project: that’s what will make you want to keep going, much more so than a full set of supplies gathering dust in a drawer.
And if you’re looking for projects to put all of this into practice, all of my free PDF patterns are available for download.
You can also compare finishing techniques to decide which types of seams to use, or review the basics of sewing machine stitches.